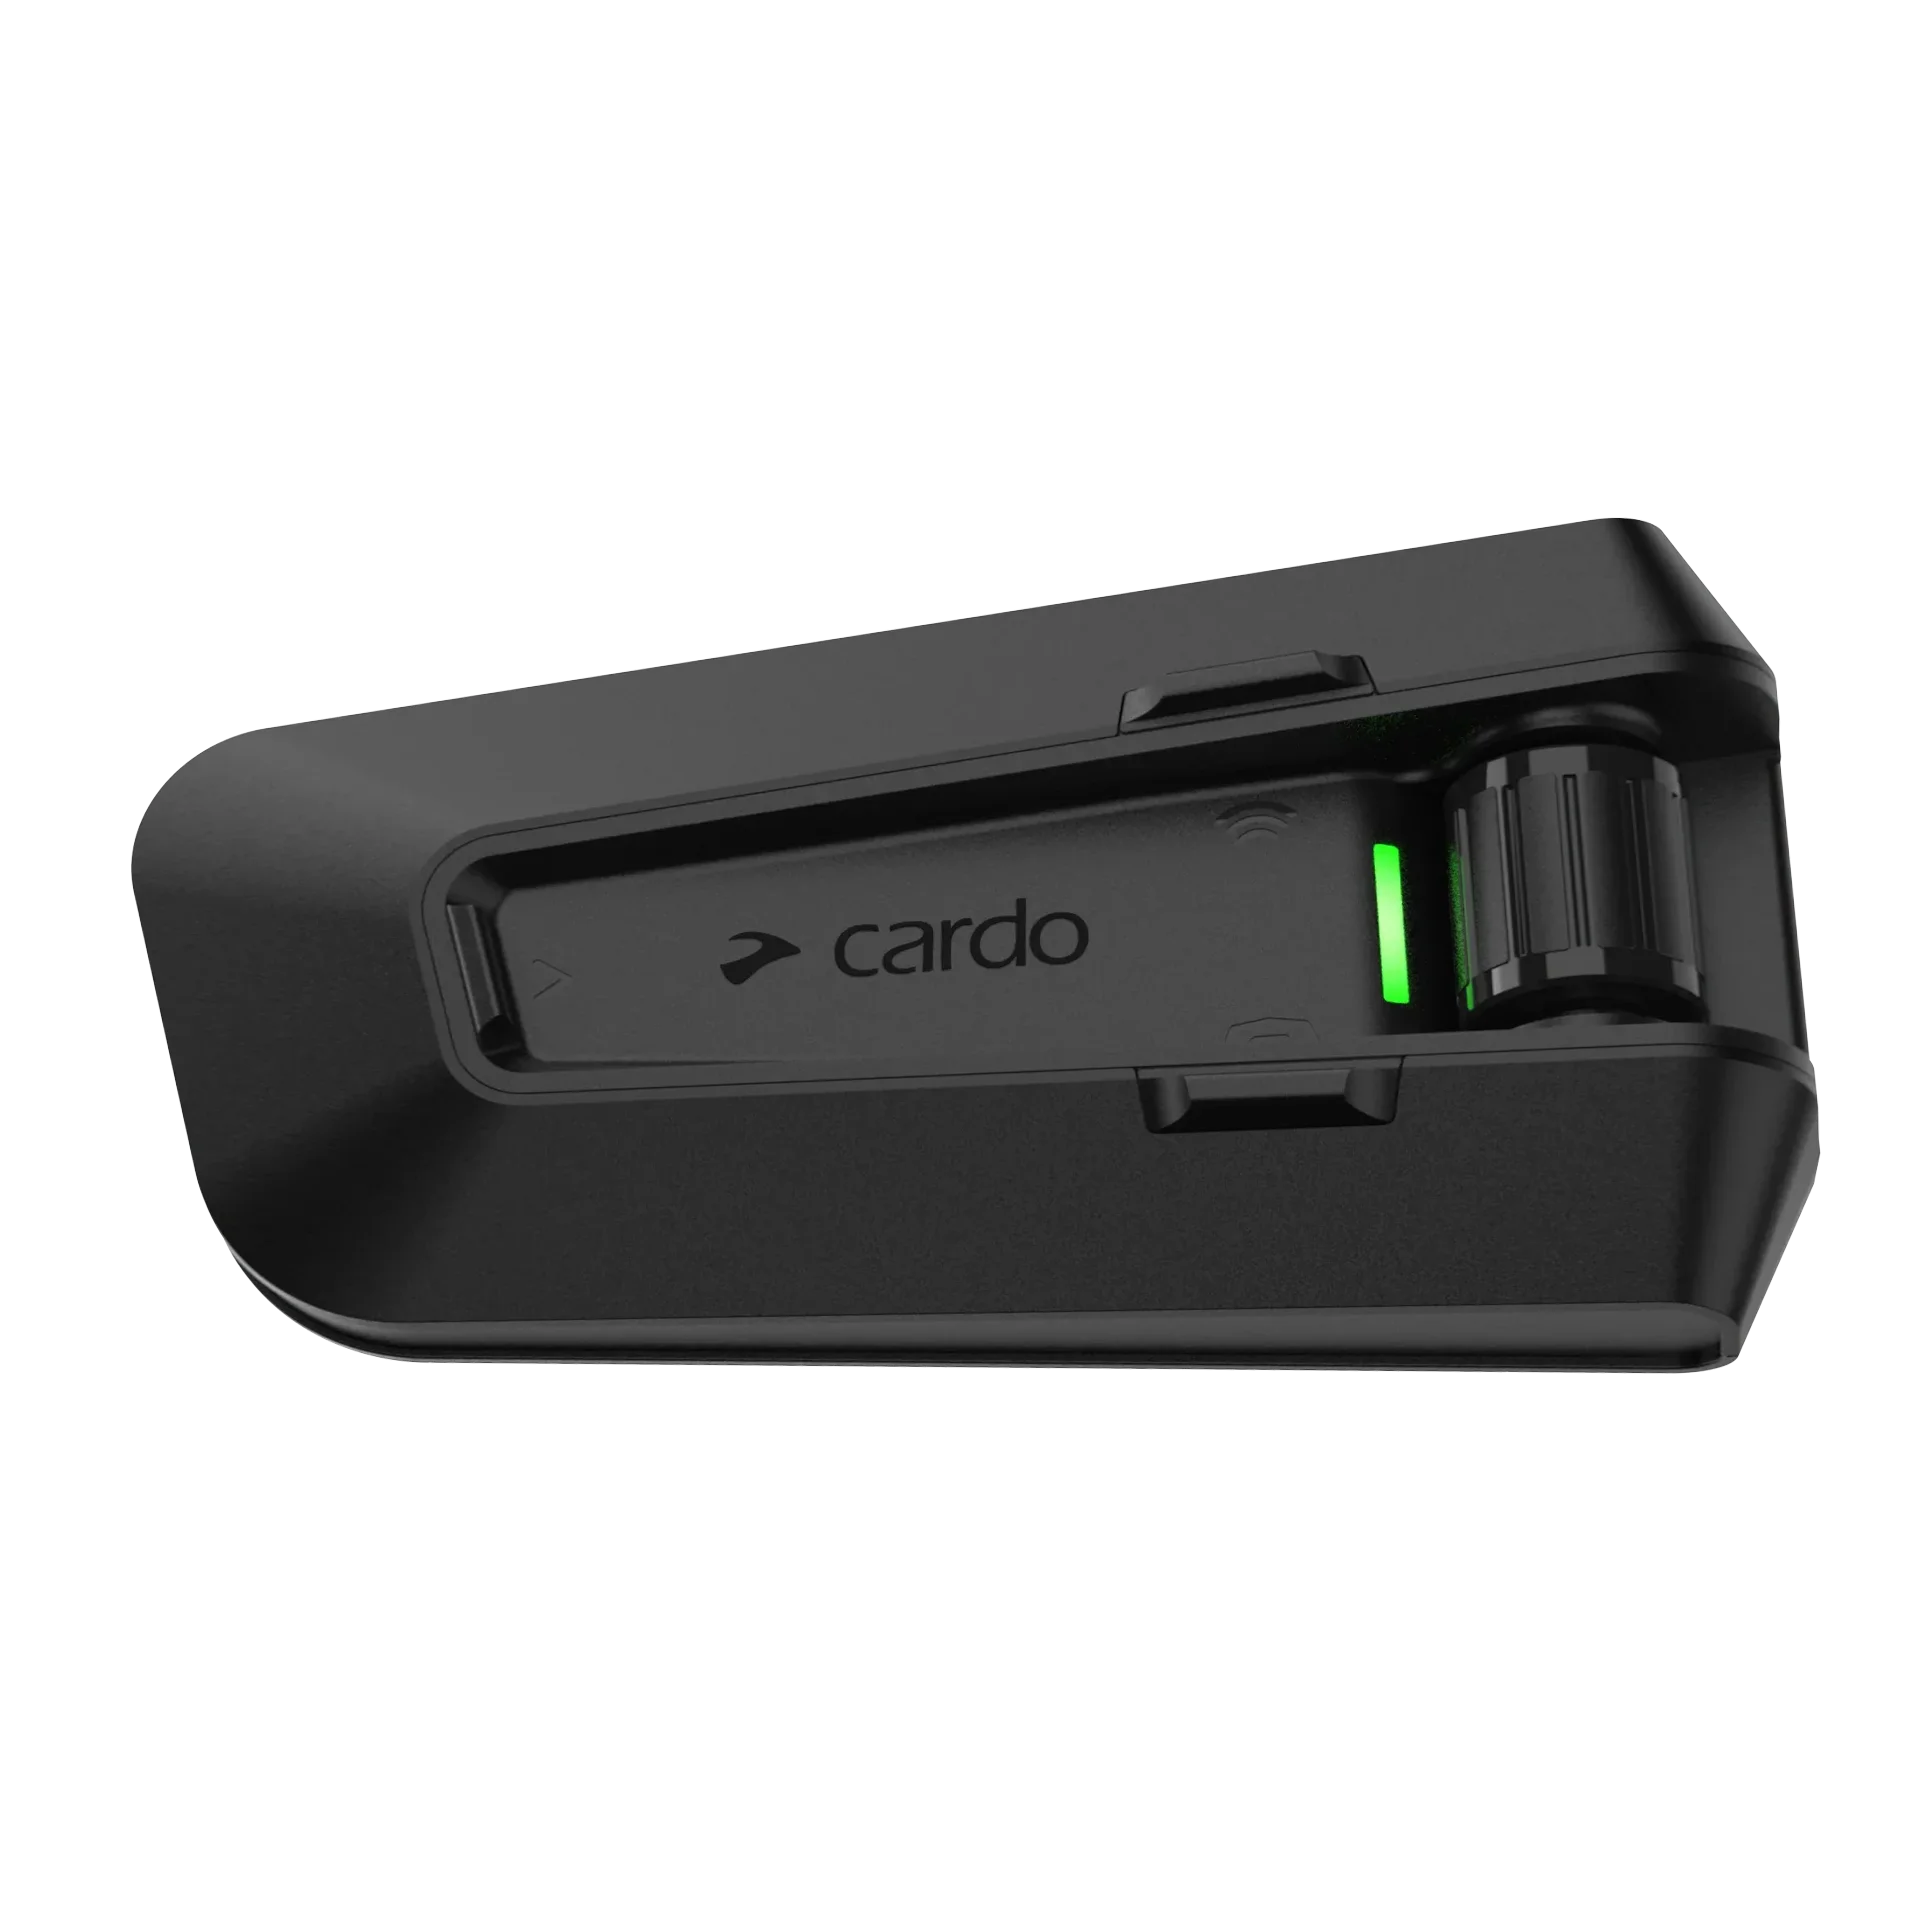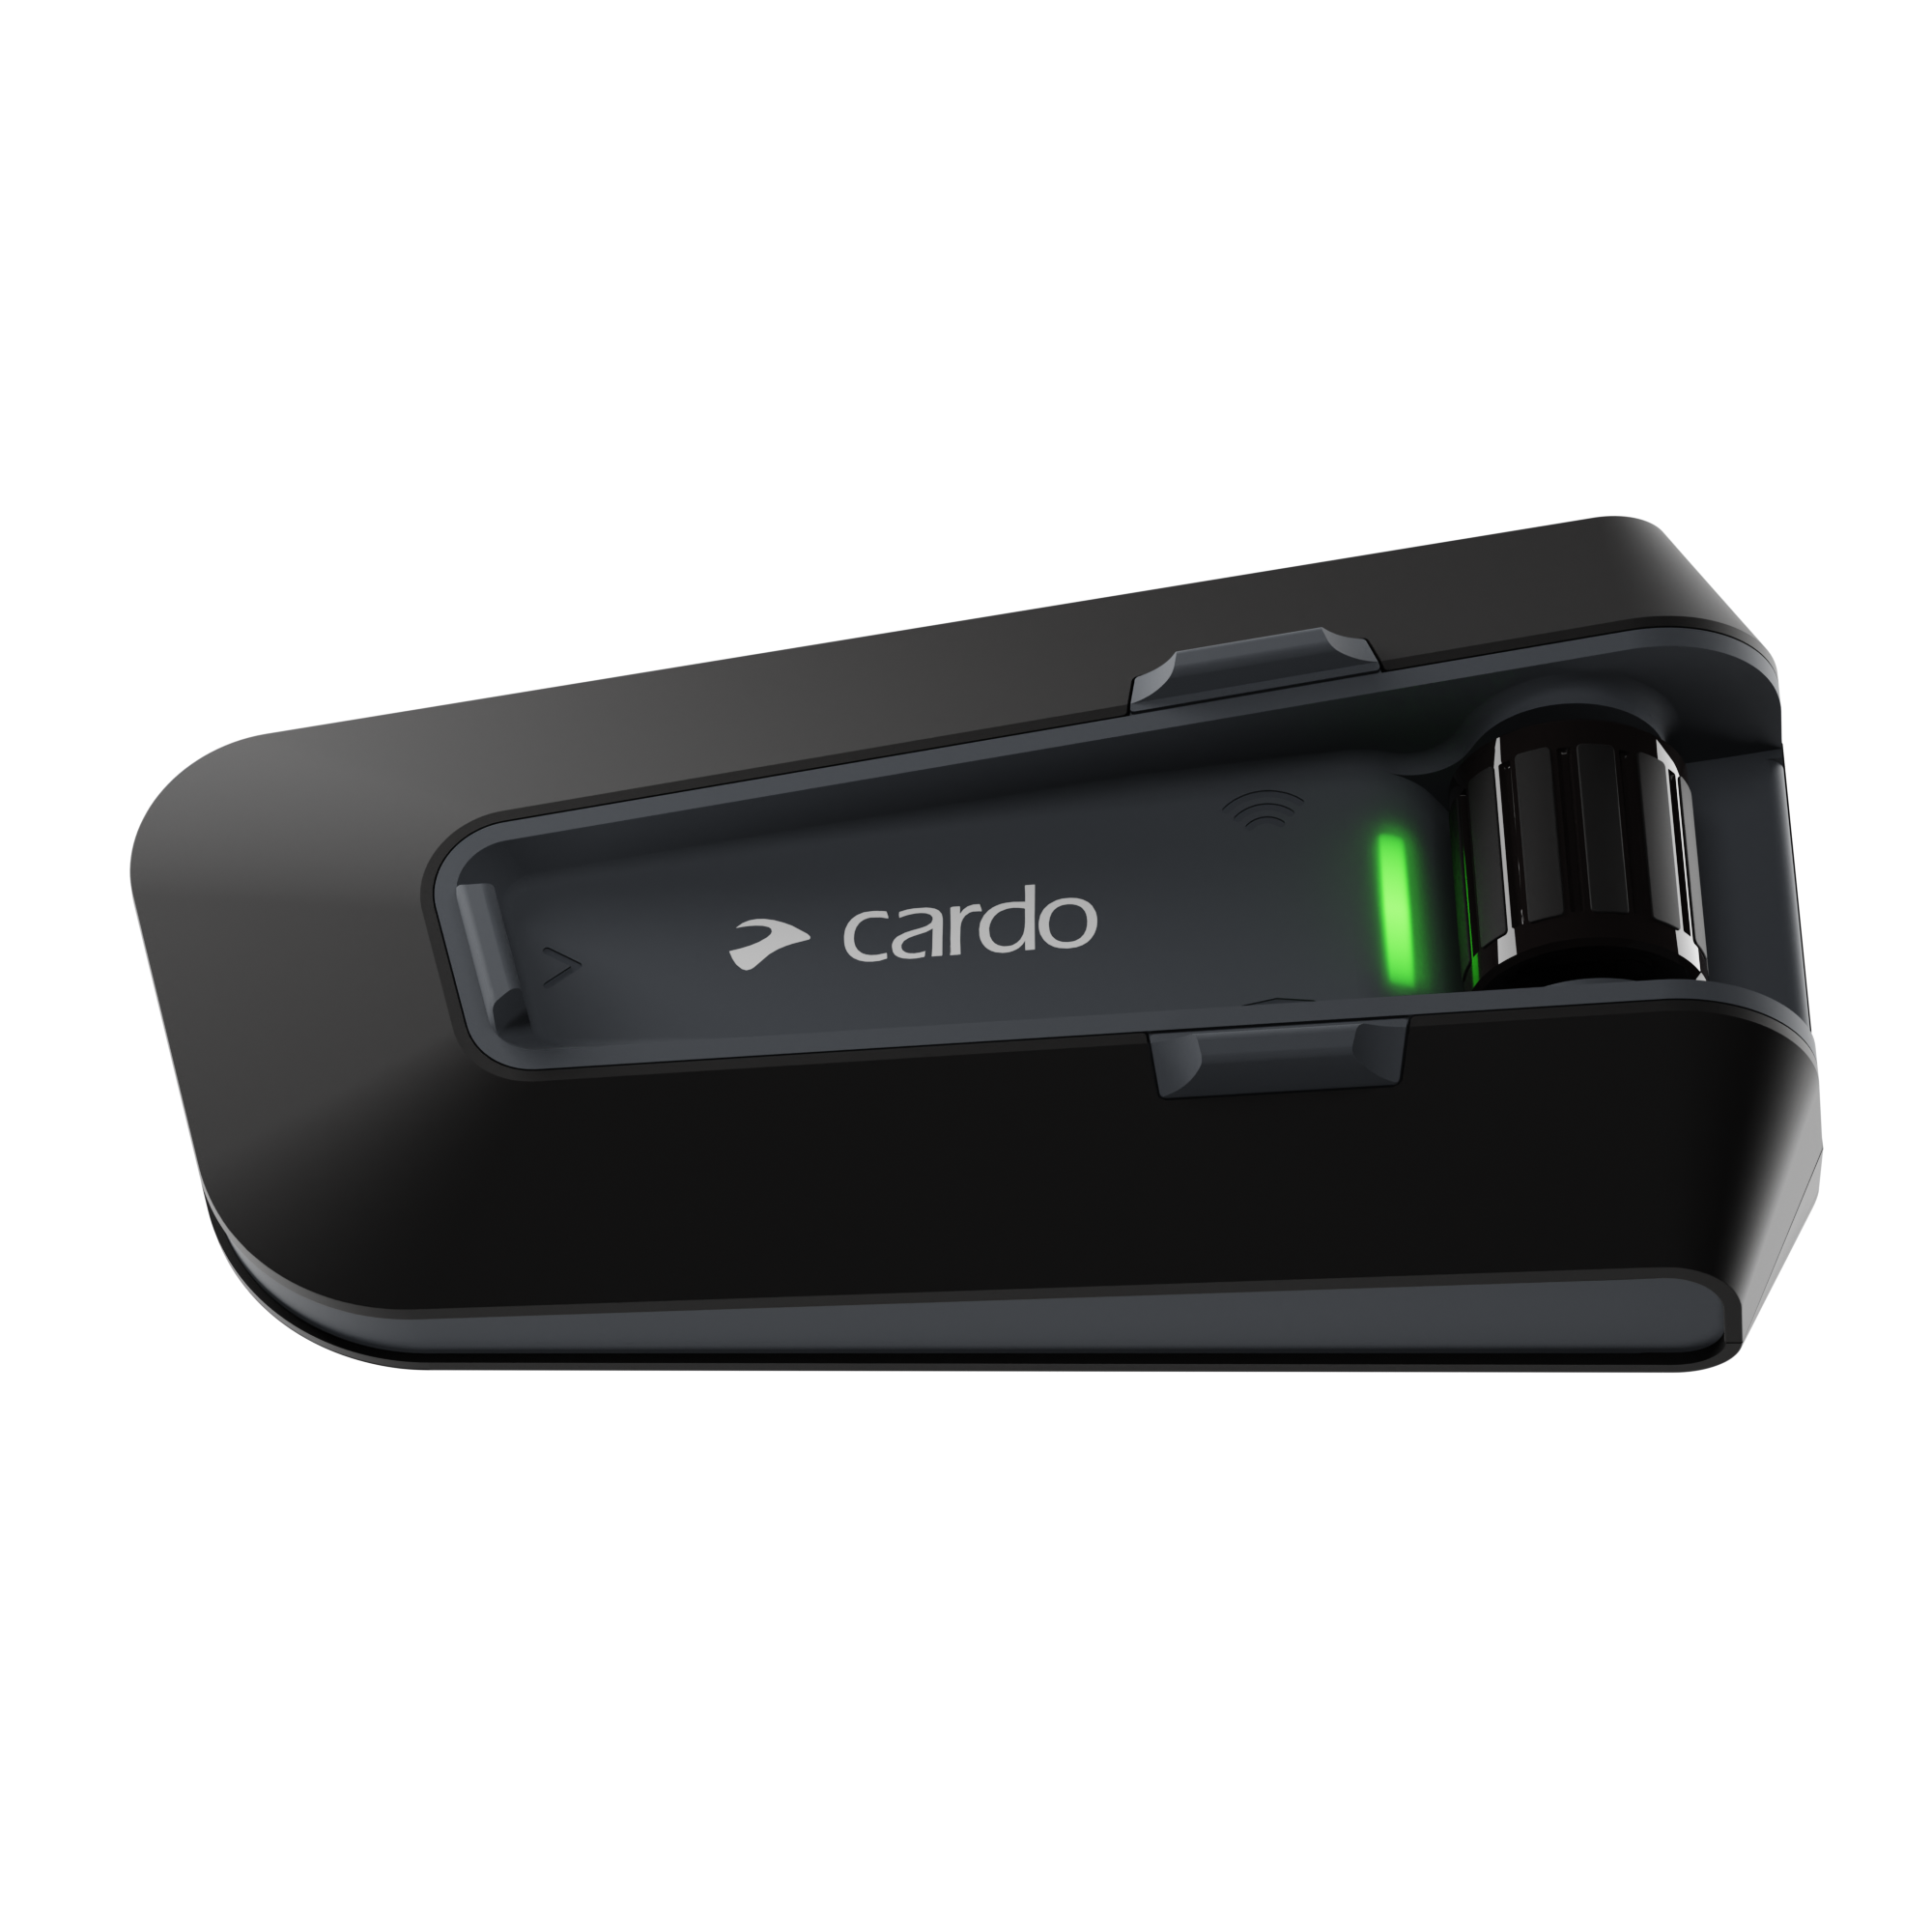
However, to get the benefits of these systems and make sure they’re safe to use while riding, you’ll need to know how to install them correctly. In this quick guide, we’ll give you some basic pointers for installing a motorcycle helmet intercom like the Cardo Packtalk Edge.
Note: For the complete instructions to install your Cardo Systems motorcycle intercom, make sure to see the instructions included with your product. Each system is a little bit different, so know the specifics of your product before attempting to install it.
1. Figure out where to mount the intercom on your helmet.
First, take a look at your helmet. For full-face, modular and open-face helmets, you’ll need to install the following:
- Two Bluetooth motorcycle helmet speakers, one on either side of your head inside your helmet
- A microphone inside your helmet
- The intercom unit itself, on the left side of your helmet
If you use a half helmet, you’ll need to use an optional Cardo integrated boom mic kit that mounts the microphone boom on the audio cradle that holds the intercom.
2. Install the Bluetooth motorcycle helmet speakers.
Remove your helmet’s cheek and ear pads, noting which piece goes where. Wipe down each ear cavity with an alcohol pad to create a clean, clear surface for the speaker mounting pads.
Take the VELCRO® mounting patches for your Cardo motorcycle helmet speakers and peel them away from their backing paper to reveal the adhesive side. Carefully attach them to the interior surface of the helmet, one in each ear cavity.
Attach the left speaker to its mounting square using the VELCRO® hooks on the back of the speakers. Next, remove the head padding from the rear of your helmet and run the long side of the speaker cord underneath where the padding goes. Attach the right speaker the same way that you did the left. If your helmet’s ear cavities are deep and the speakers are too far from your head, use the included VELCRO® spacers to adjust the fit.

3. Install the microphone in your helmet.
This step will depend on the style of helmet you have. Here’s how to attach the mic:
- Full-Face: Attach the adhesive pad for the microphone on the chin bar of your helmet. Attach the corded microphone to the adhesive pad and run its cord along the helmet’s left inner rim.
- Open-Face/Modular: Attach the two VELCRO® pads for mounting the boom microphone on the left cheek area. Use the two VELCRO® pads on the boom to attach the mic to the helmet, and remember to use the adjustable pad to get the perfect fit.
- Half Helmet: Use the boom mic cradle kit (sold separately) to attach the boom mic to the audio cradle. (For instructions, go to the next step.)
When you’re done, connect all of the wires and reinstall all of your helmet padding to its original location.
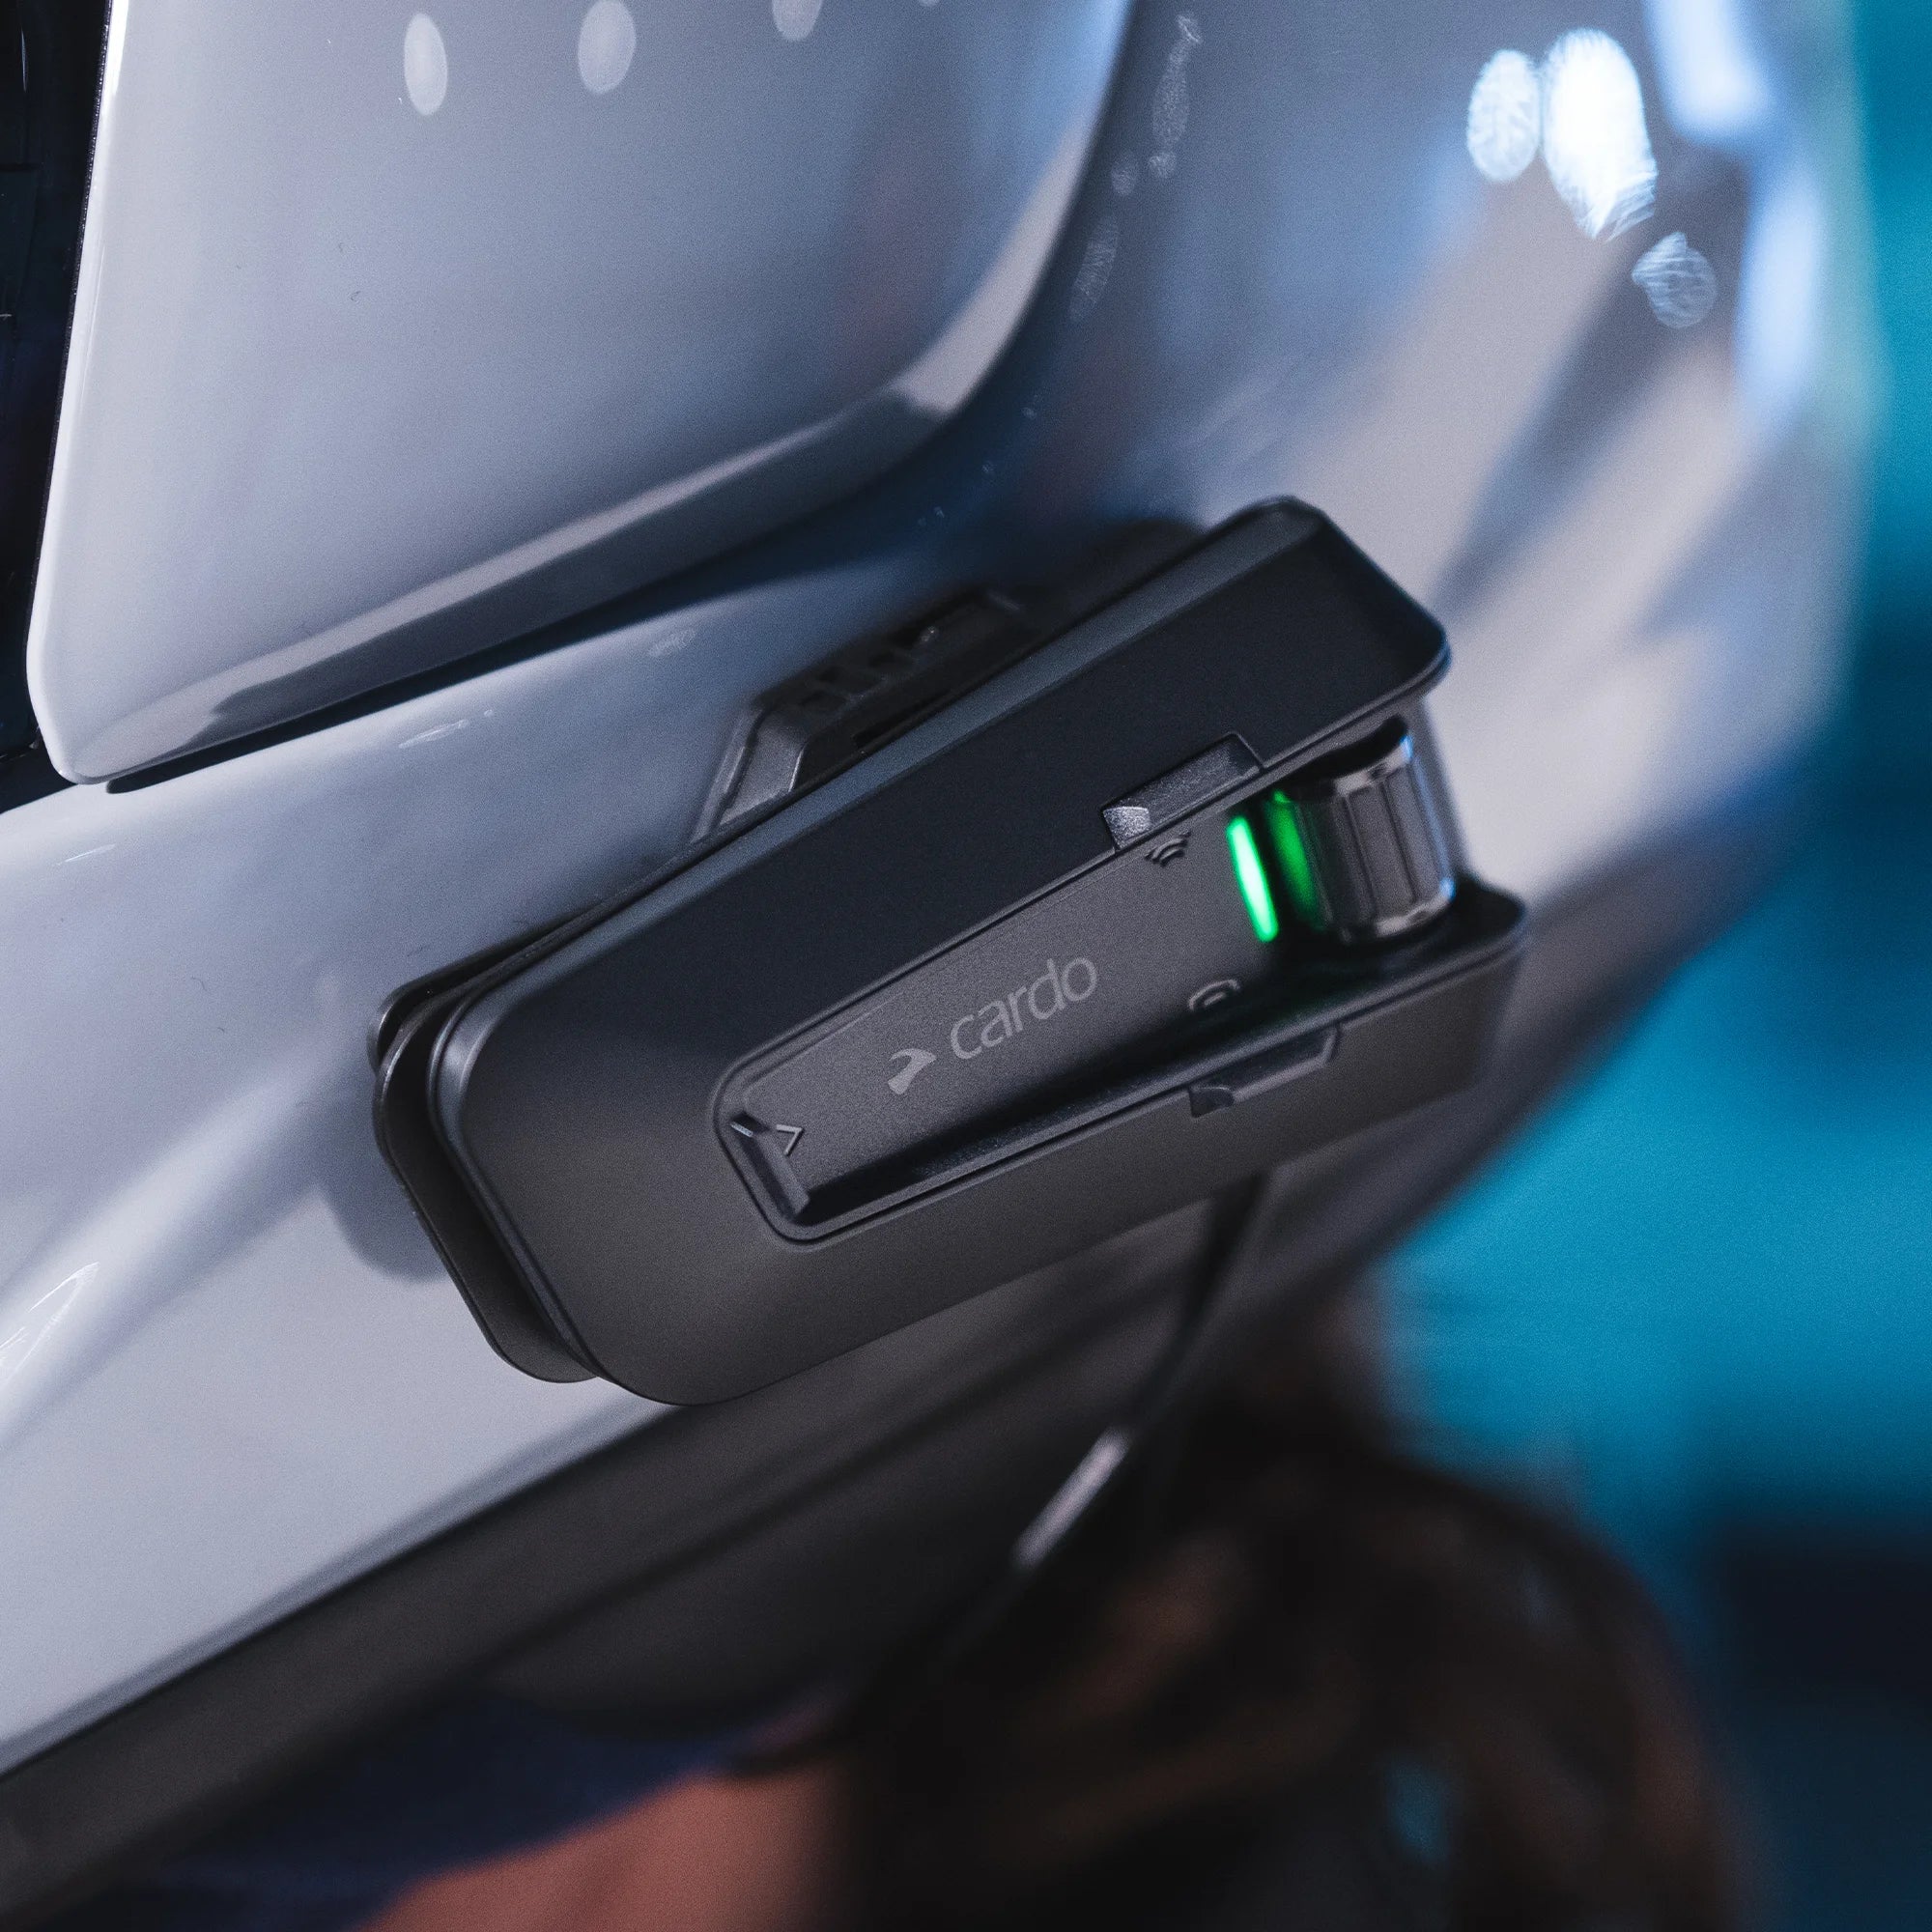
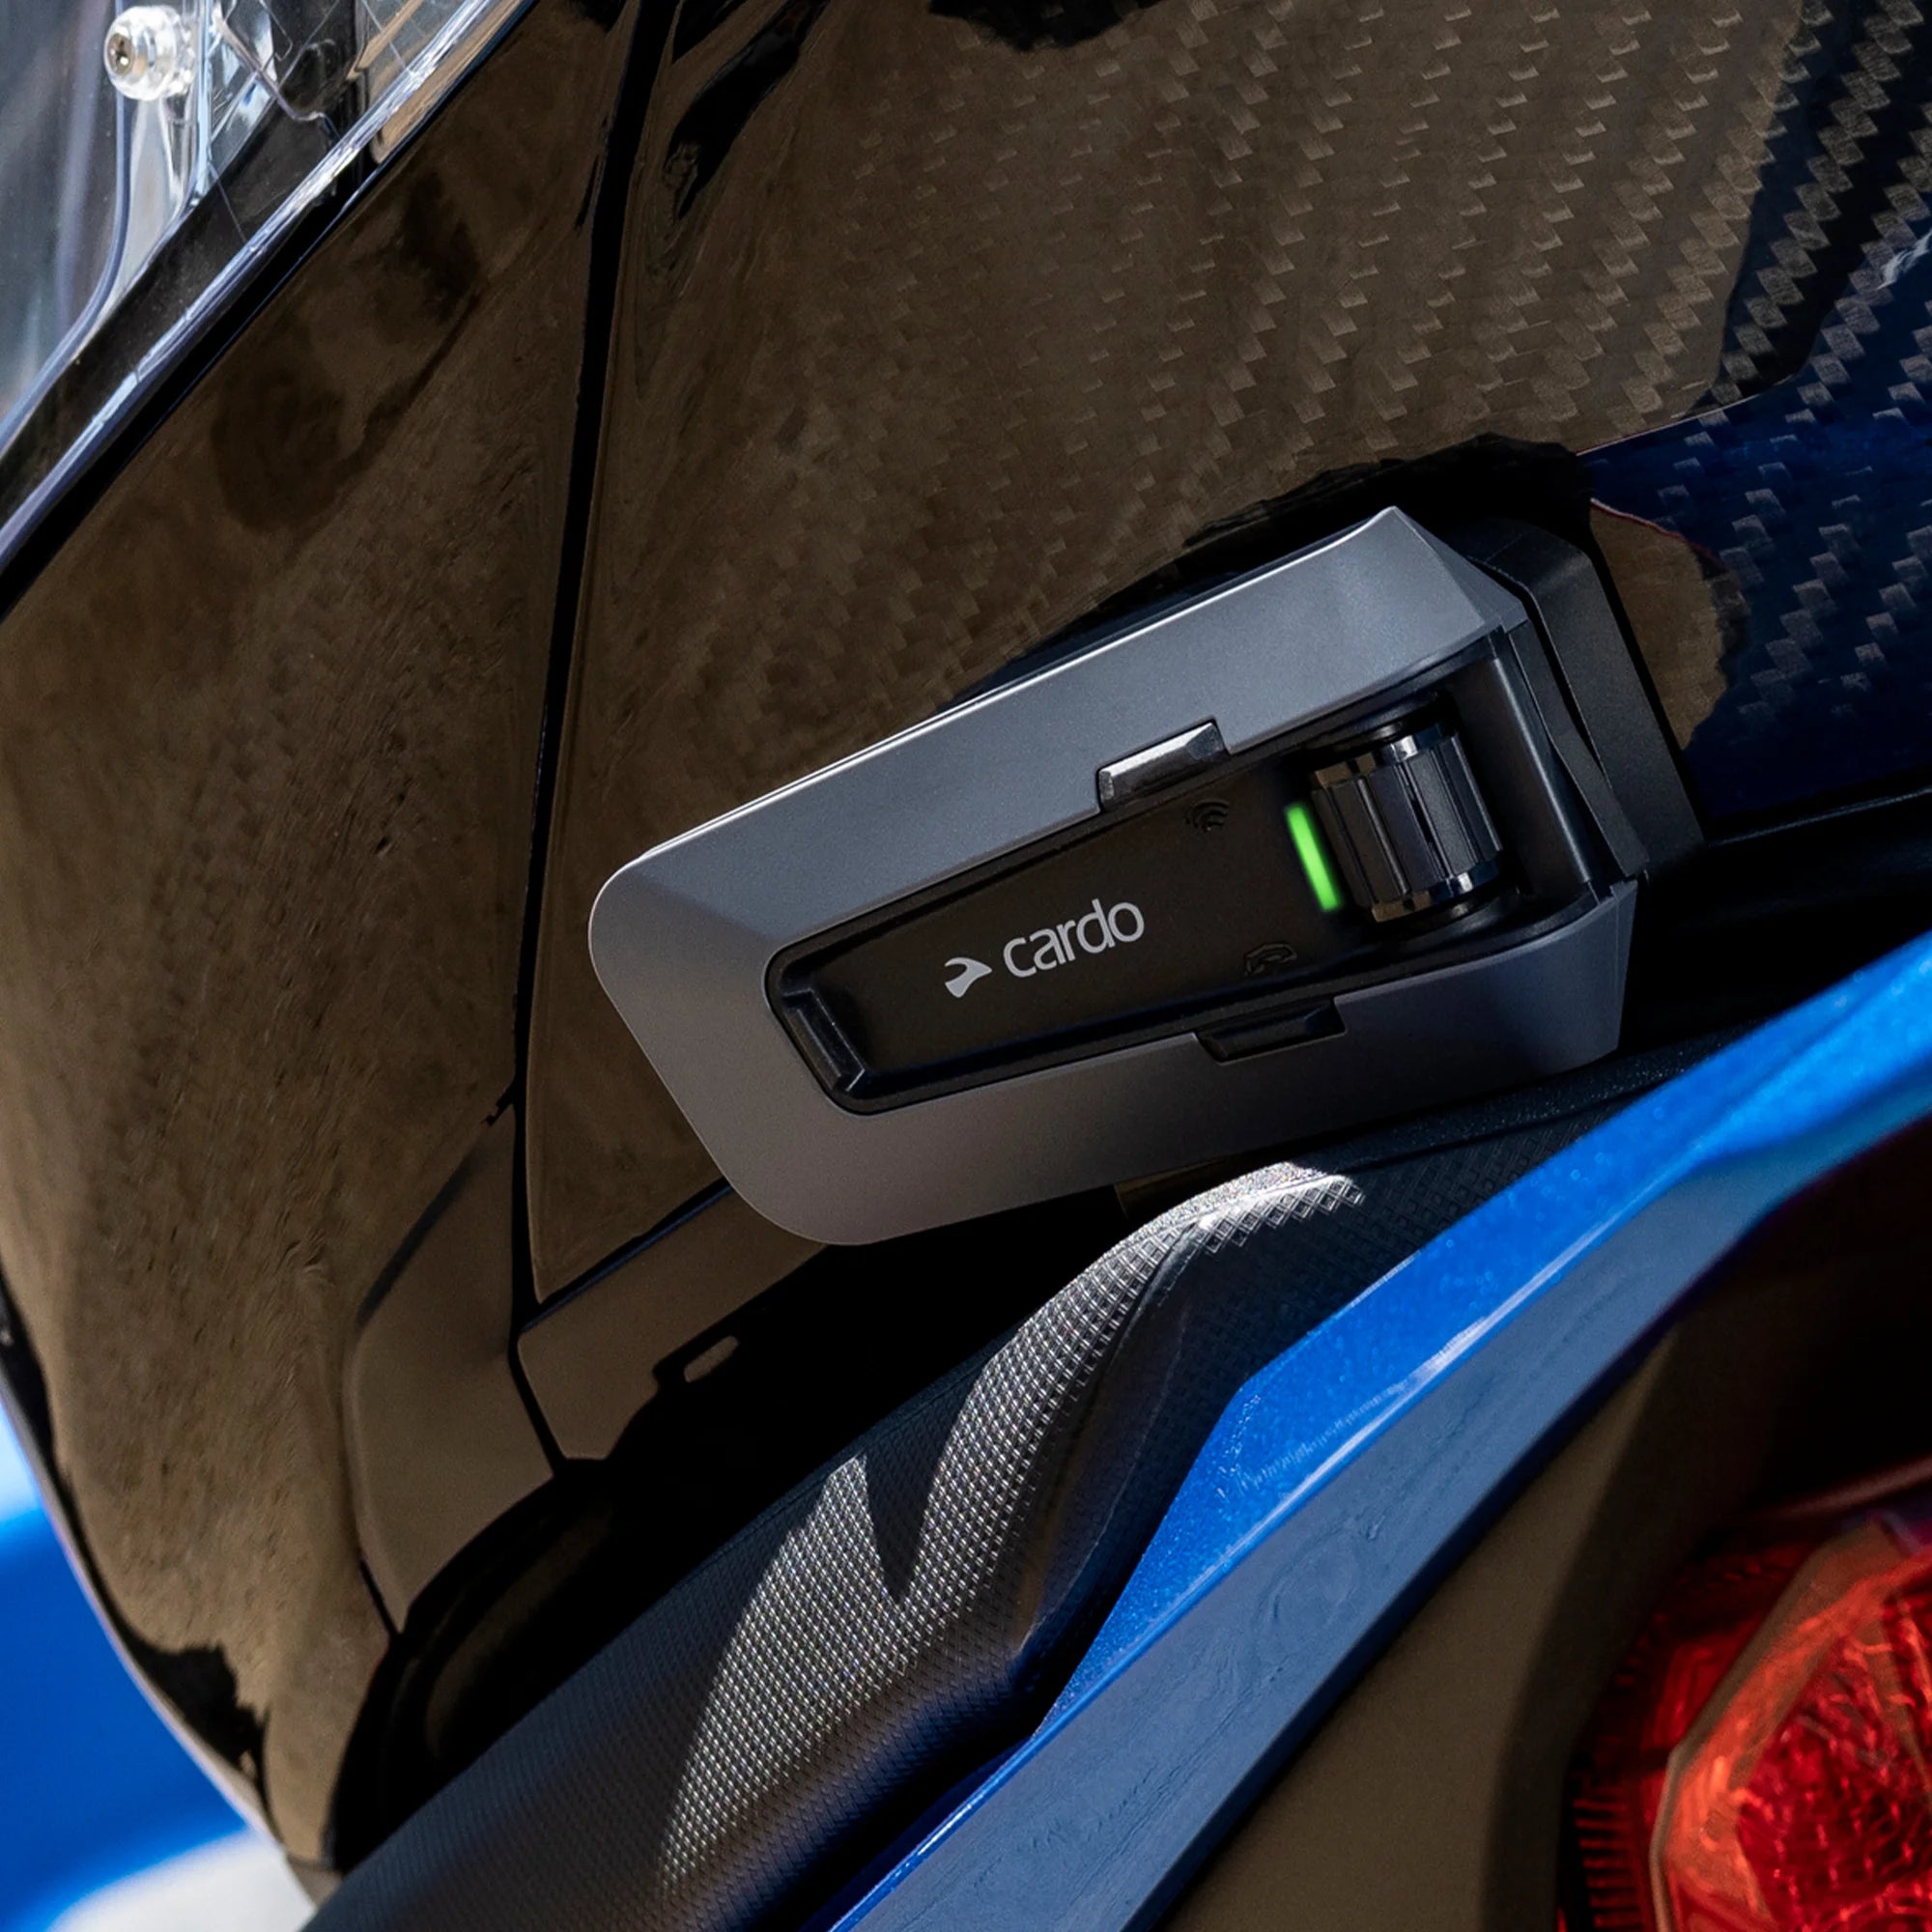
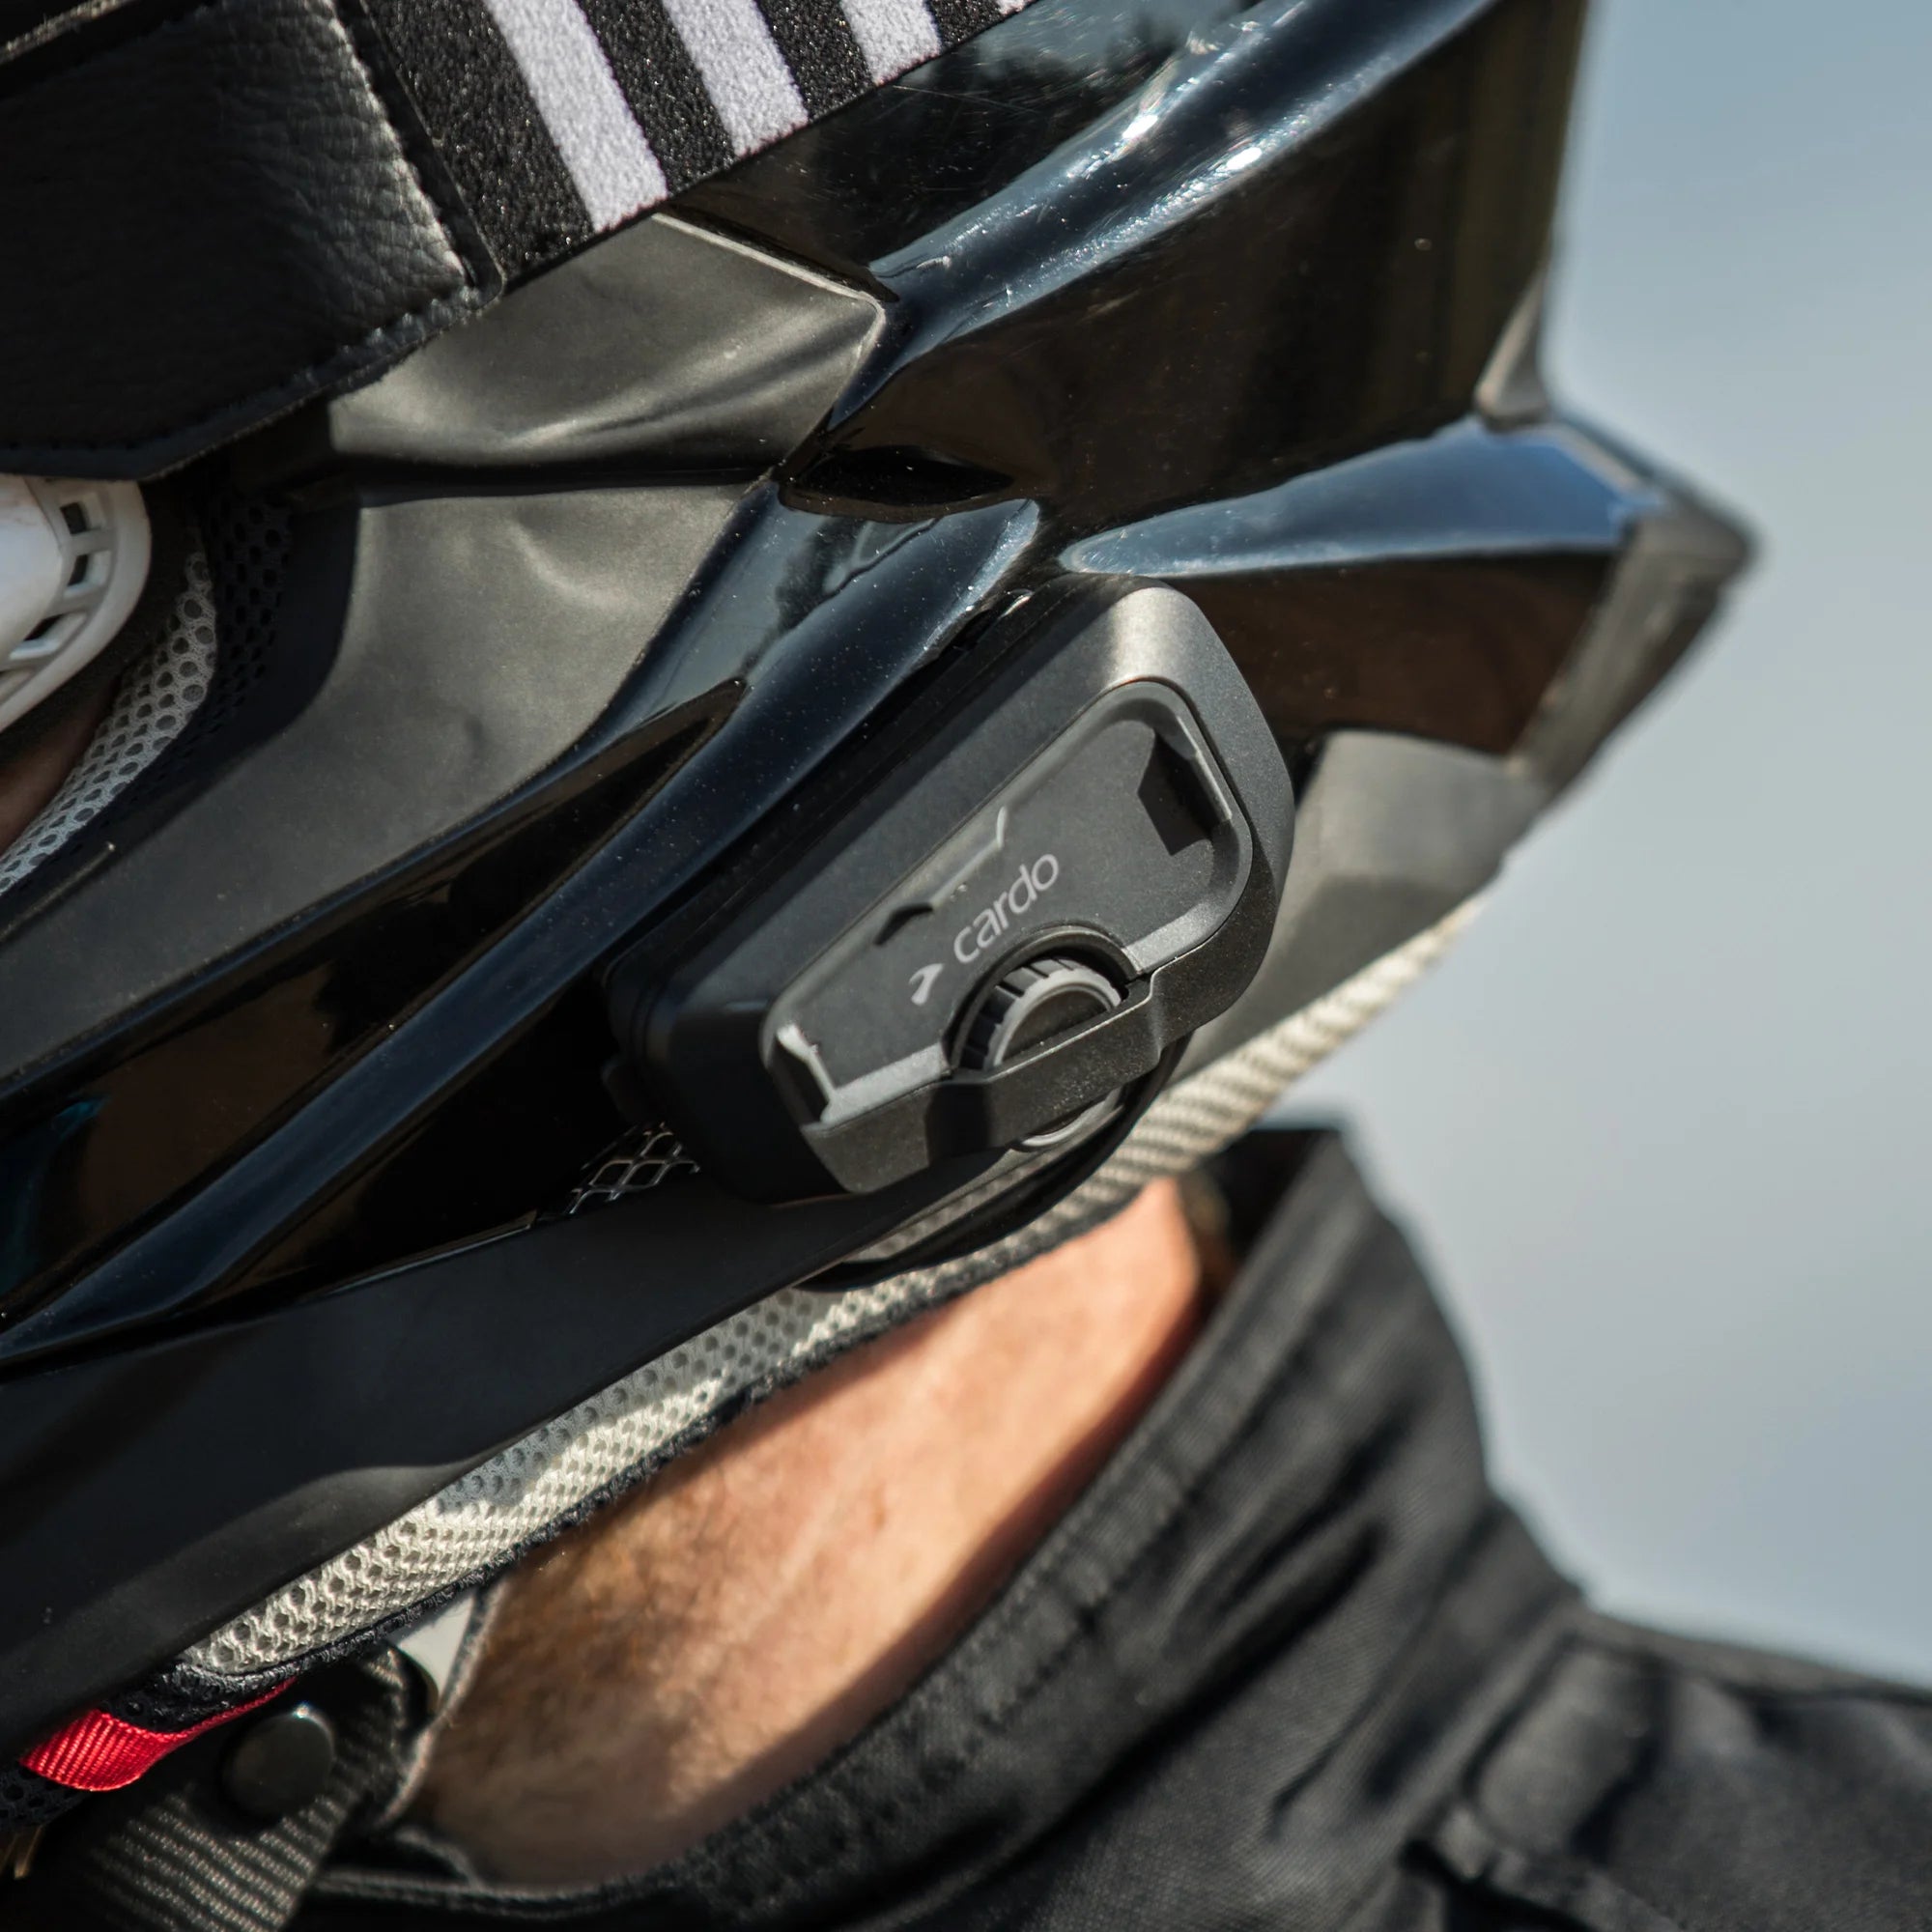
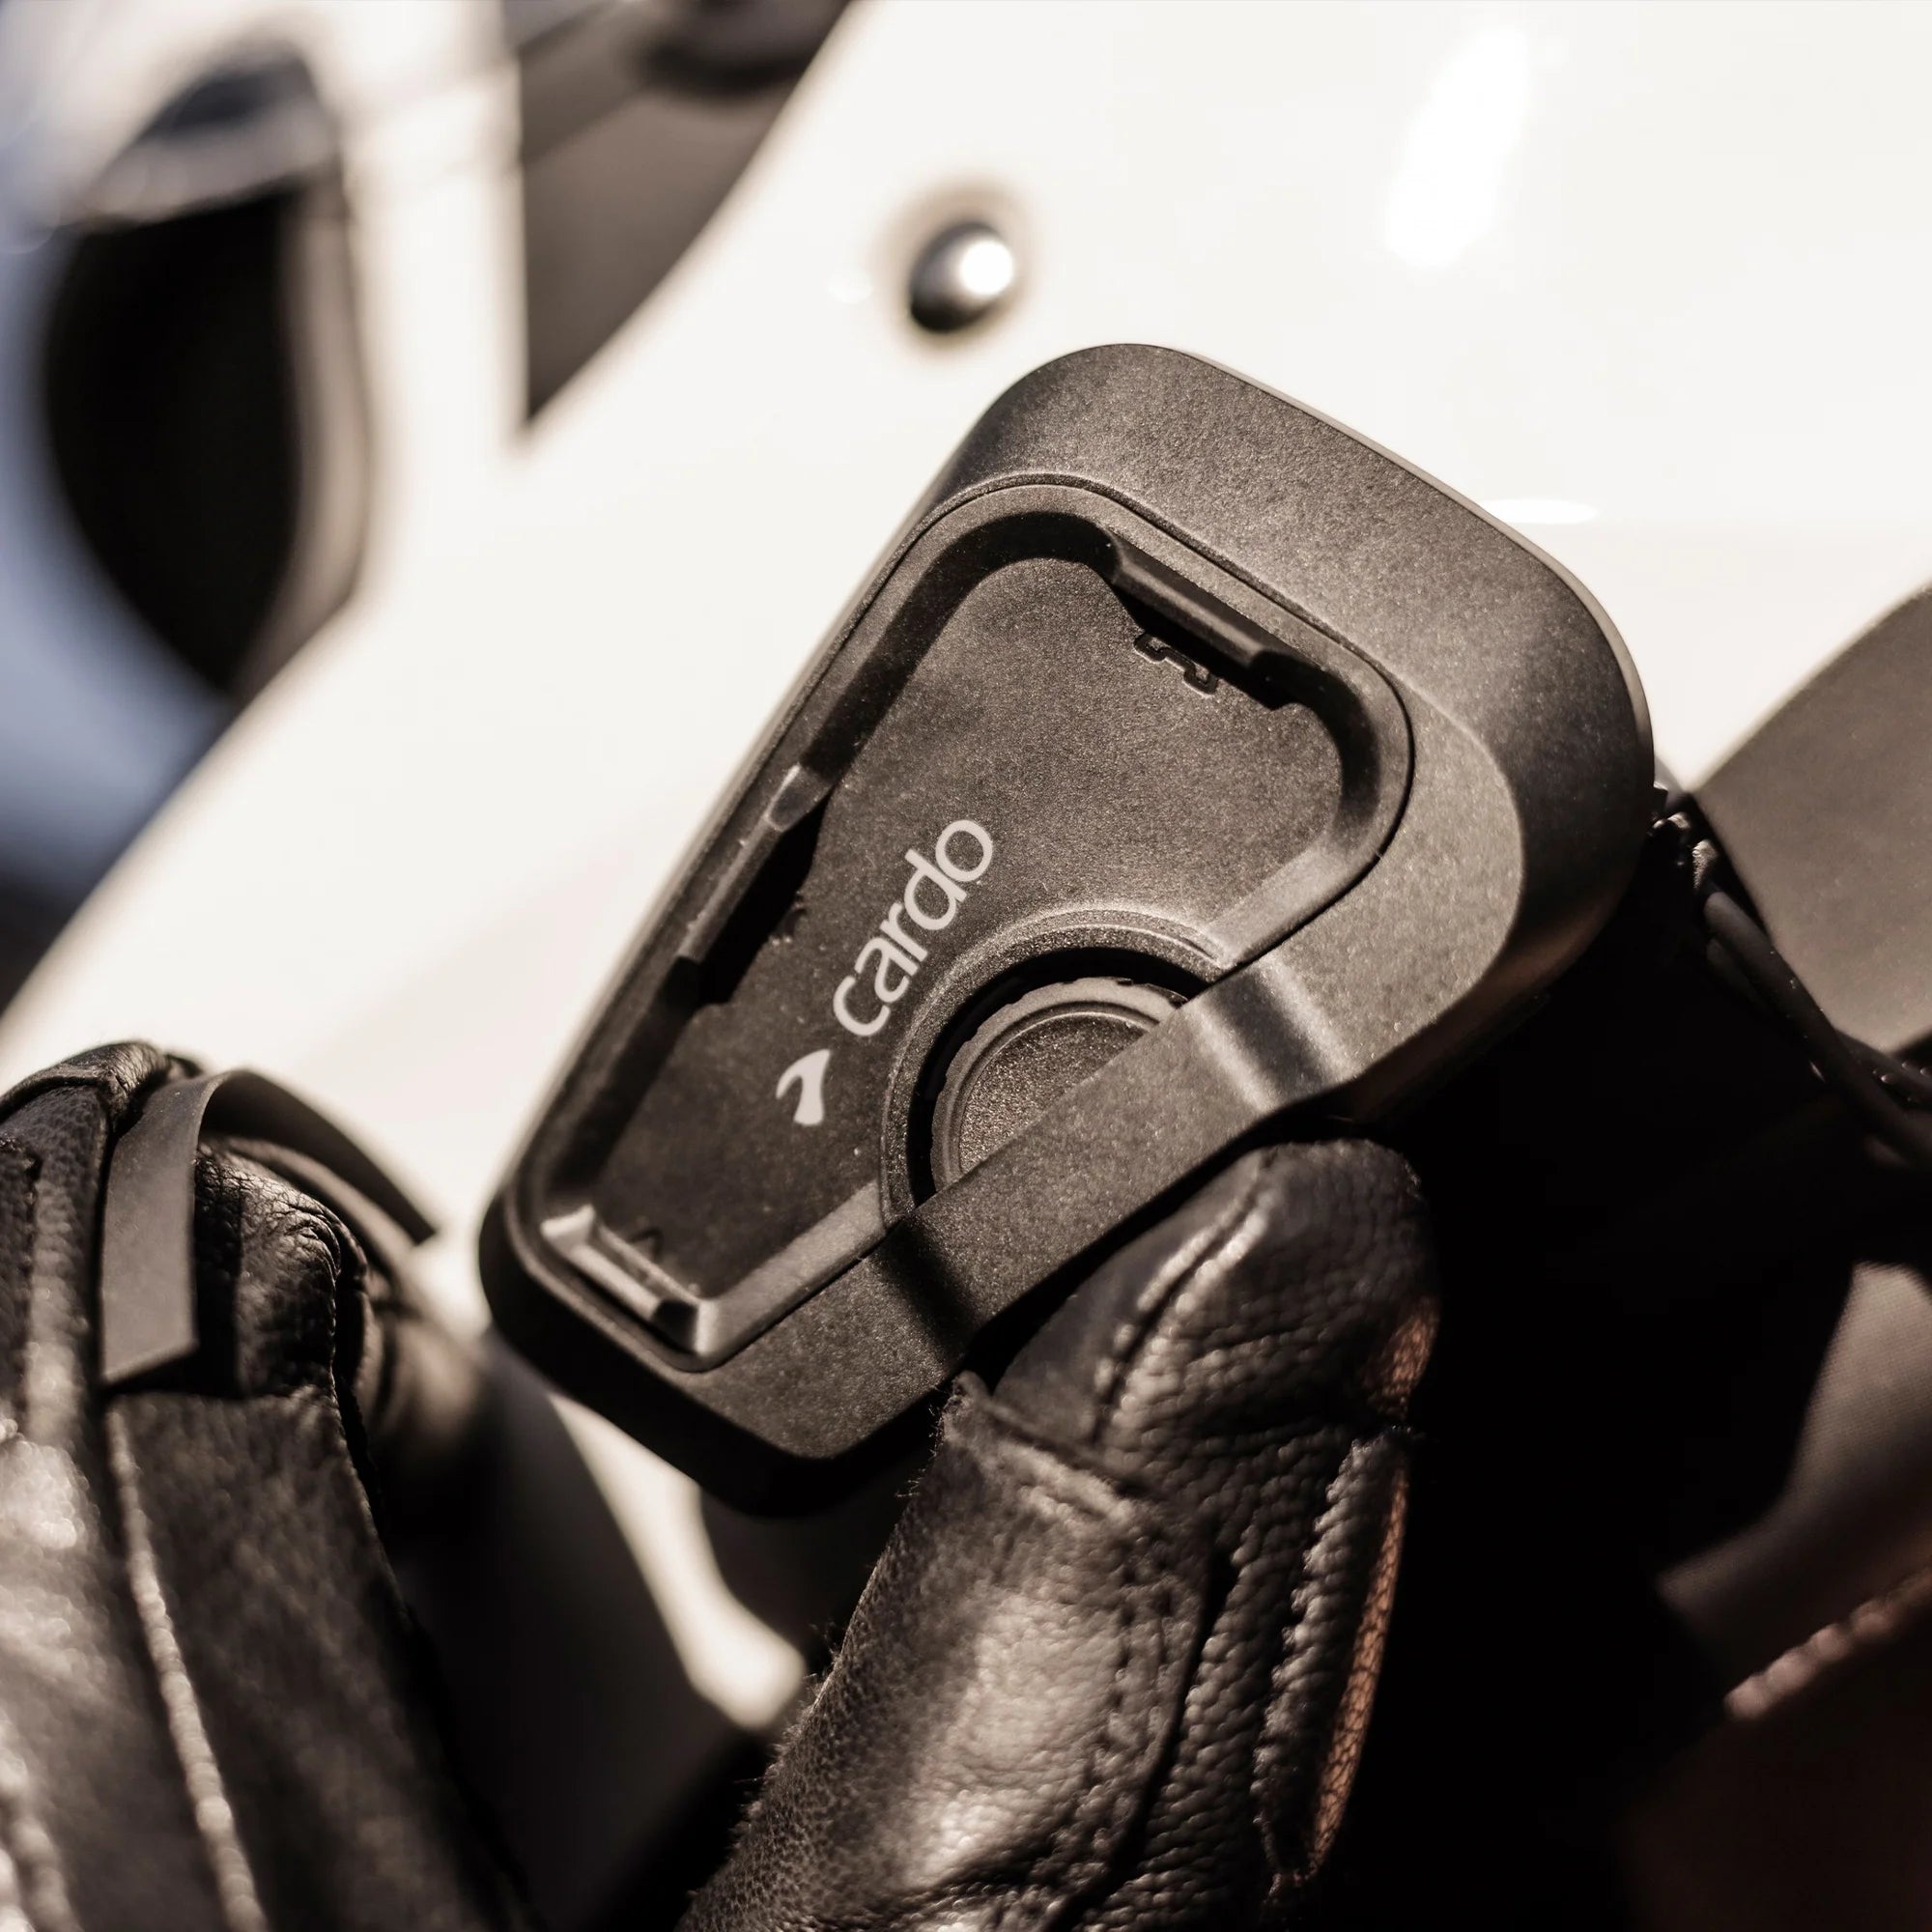
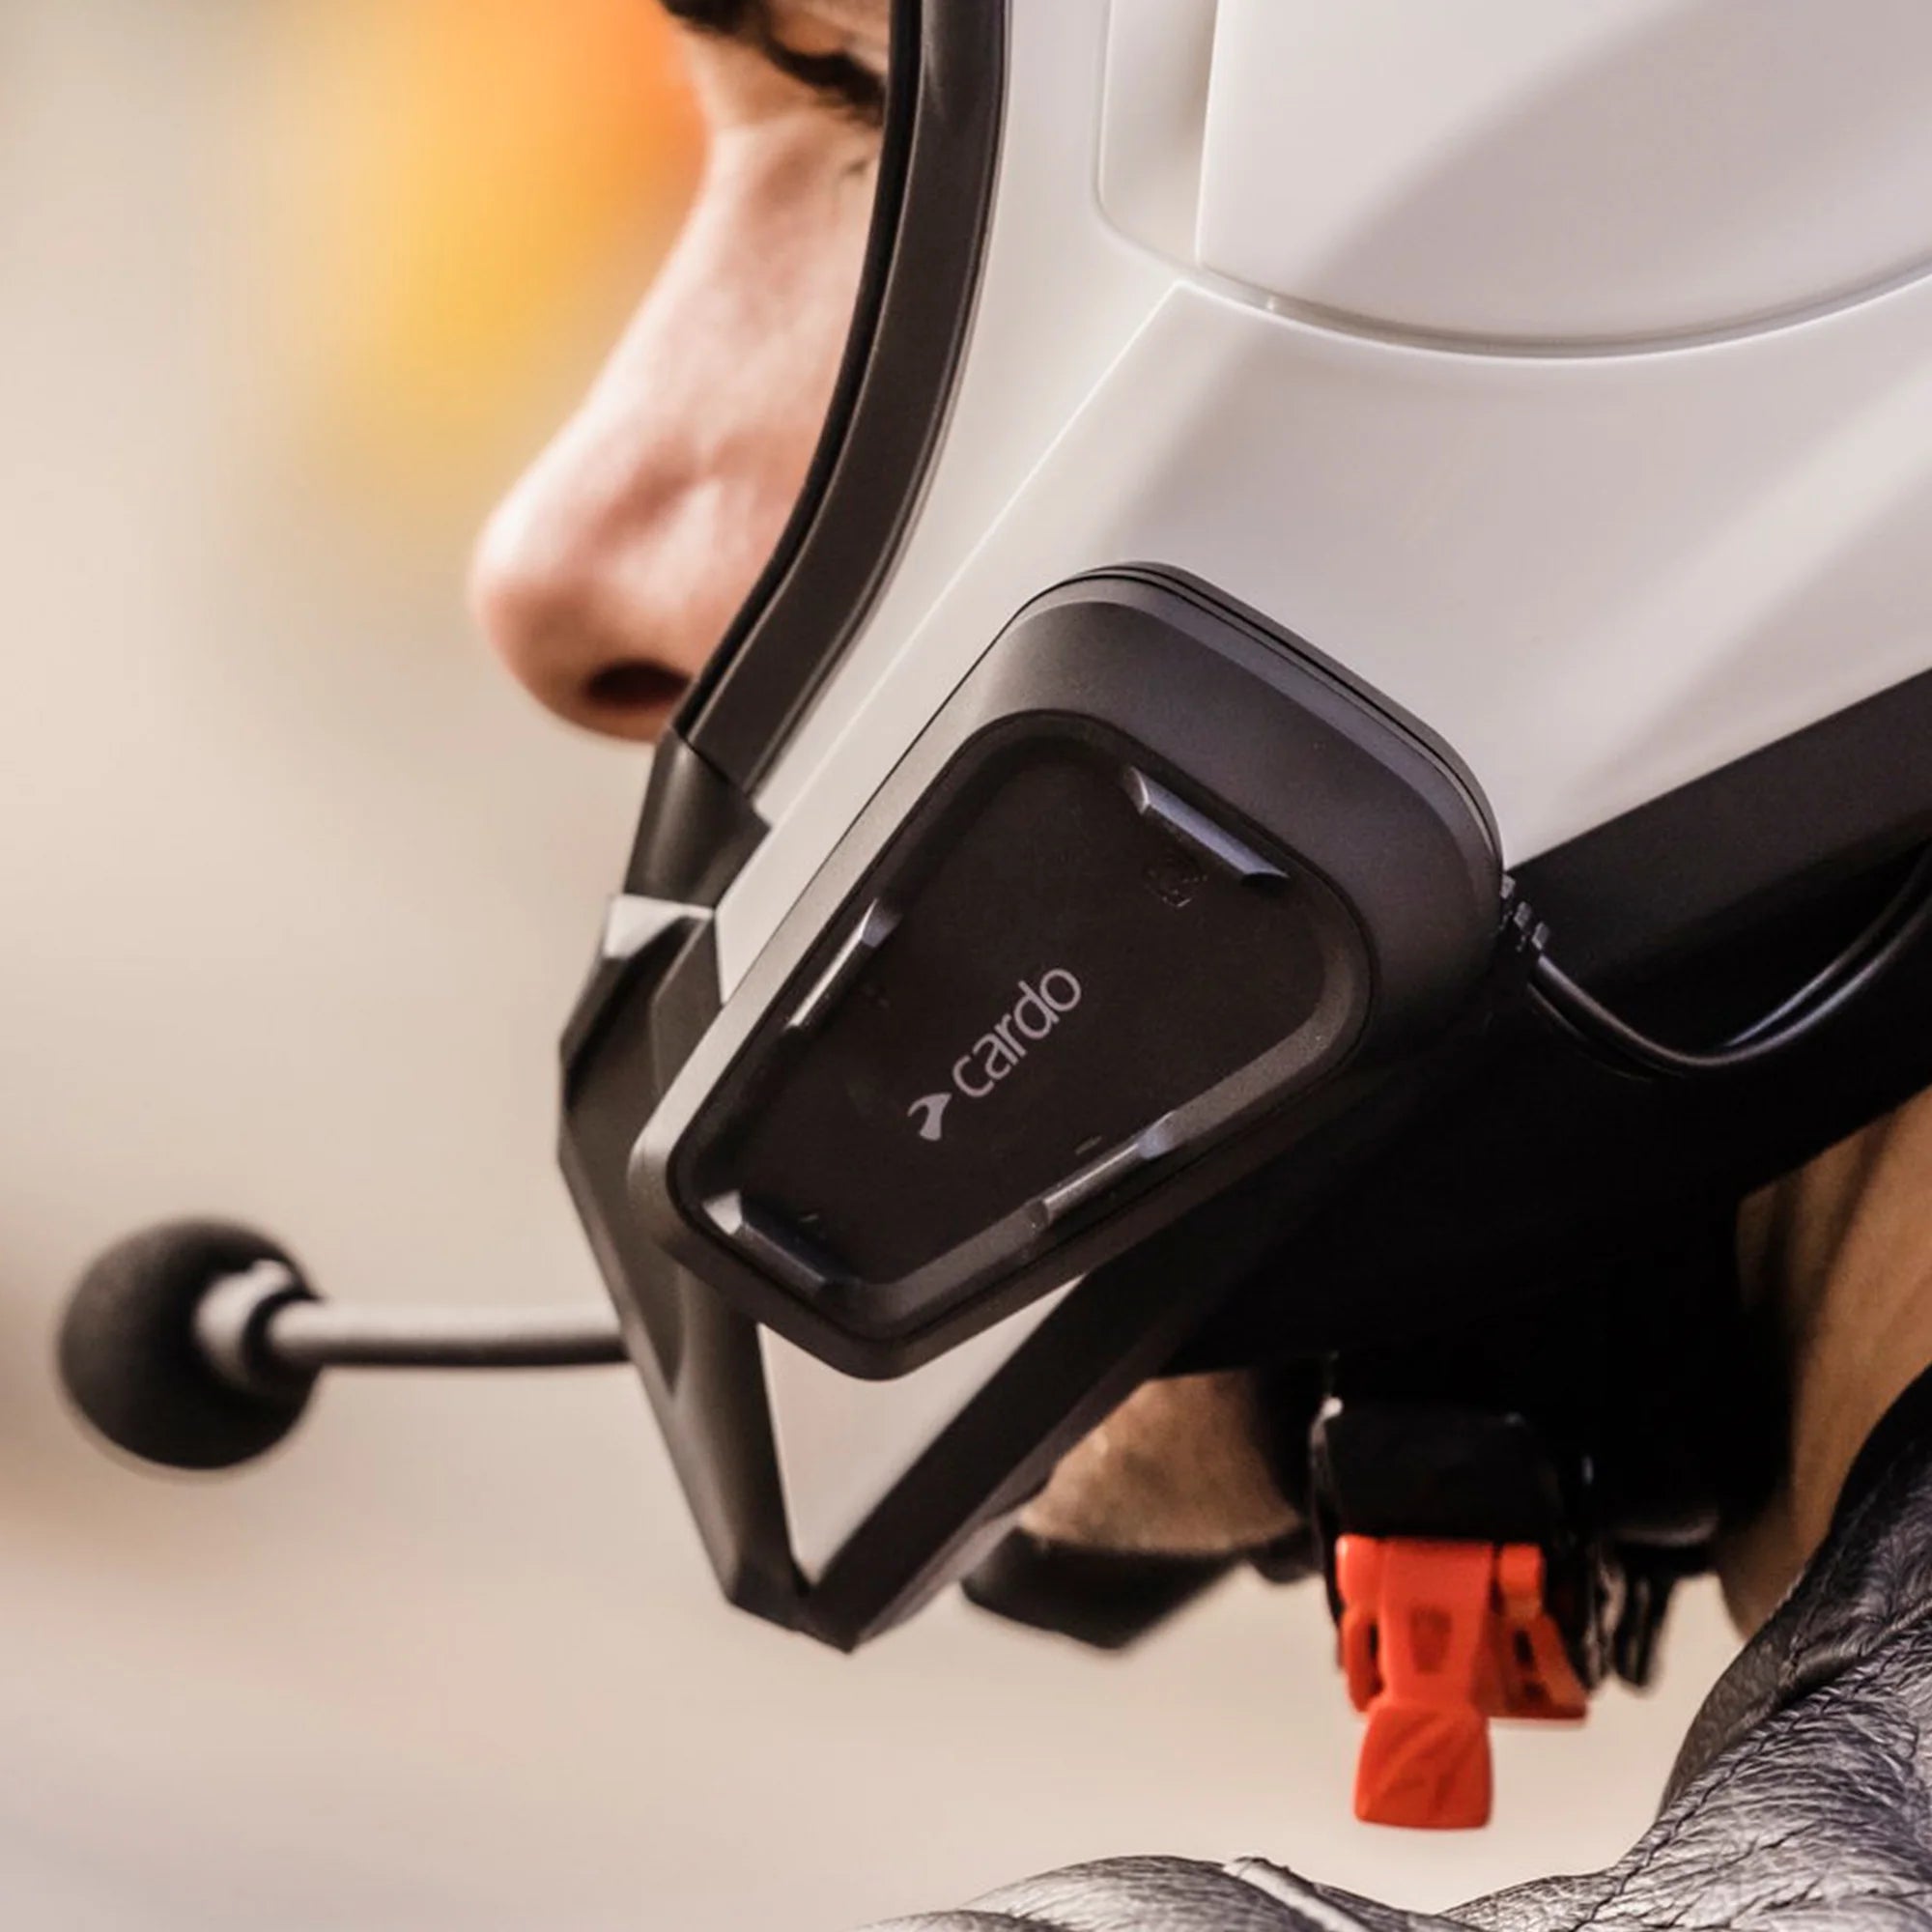
4. Attach the audio cradle to the outside of your helmet.
The audio cradle holds your motorcycle intercom unit in place on the outside of your helmet. Each audio cradle has a clip that allows it to clip onto the outer shell of most helmets. Place a finger between the outer shell and the lining of your helmet and insert the back piece of the clip into this space. Press the clip firmly into place until it feels sturdy.
If the rim of your helmet is too thick to clip the cradle onto, you’ll need to use the included glue plate instead. Using a tool such as a screwdriver, press down on the release slot in your audio cradle, slide out the clip and replace it with the glue plate. Strip the glue plate away from its backing and attach it to the lower left side of the helmet. Press it firmly into place and allow the glue to set for 24 hours.
5. Install the audio unit on the cradle.
You’re almost done—now it’s time to mount the audio unit. Align your Cardo Systems audio unit with the connectors on the audio cradle and snap it into place. If you’re using the integrated microphone kit, adjust the boom mic extending from the cradle until it’s about an inch away from your mouth, with the yellow arrow pointing to your mouth. Now you’re ready to chat with your buddies, take calls and enjoy your favorite media hands-free on the road!

Source: George Rudy/Shutterstock
Need more assistance with installing your Cardo motorcycle communication system? Contact our friendly Cardo customer support to talk to a pro, or watch our easy video tutorial for installing the Cardo Packtalk Bold.