

Most important things in our lives need maintenance. A kitchen won’t stay clean by itself, a home needs periodic maintenance to remain livable and a car requires (among other things) regular oil and tire changes. So, when it comes to the motorcycle that you love so much, it shouldn’t be surprising that there are some regular tasks you’ll have to perform in order to keep your machine in tip-top shape.
Below, we’ll talk about eight of the most important motorcycle maintenance tasks that you can do at home. That’s right—every task we’ll discuss here can be done yourself with a little know-how. But it’s never a bad idea to trust it to a professional, and beginners especially shouldn’t be shy about taking their bike to the garage for a little bit of fixing up.
If you’re ready to get your hands a little dirty and tackle some basic DIY motorcycle maintenance, read on. We’ll cover all the basics for making sure your motorcycle looks great and rides even better.
Cleaning Your Motorcycle
Regularly cleaning your motorcycle is one of the most important motorcycle maintenance tasks and, fortunately, it’s one that’s relatively simple to do yourself. You just need some automotive cleaning supplies (such as soft sponges and bristle brushes), a hose and a motorcycle cleaner.
The basic steps of cleaning your motorcycle work like this:
- Prepare your work area and plug your motorcycle’s exhaust.
- Give the bike a quick rinse with a spray bottle or a hose on a low setting to loosen up dirt that’s caked on.
- Lather the motorcycle with your motorcycle cleaning spray or automotive soap, working from the top to the bottom of the bike and making sure not to rub too vigorously. Use a soft bristle brush for areas like the chain and the wheels.
- Rinse off the lather immediately so it doesn’t leave streaks and spots.
- Dry your bike gently with a microfiber cloth and some compressed air for the nooks and crannies.
- Apply a coat of wax to your motorcycle’s body to keep it looking great and protect it from dirt.
Note that you should clean your bike only when the engine is cold, and also that you should avoid using high-pressure hose settings or pressure washers. For a complete how-to on pampering your motorcycle with a thorough cleaning, including how to prepare your cleaning space, make sure to see our guide to washing a motorcycle.
Caring for Your Battery
A motorcycle’s battery will last longest and be most reliable when it’s kept clean and fully charged. Riders should periodically give their motorcycle battery a visual inspection, looking for corrosion or loose connections on the battery terminals, and wipe the terminals and battery case down with a water and baking soda solution. When the terminals are clean, dab a tiny amount of petroleum jelly onto them to help protect them.
Now, let’s talk about charging. If you don’t ride your bike every day, a trickle charger is a game-changer for protecting battery life. These handy devices make it easy to keep your battery on a healthy charge by supplying a low, steady stream of current to the battery when it’s not in use. Trickle chargers are inexpensive and will help give your battery a longer life, and they’re an essential part of how to store a motorcycle for winter.
Finally, if you notice that your battery has begun to struggle to hold a charge, go ahead and replace it. Dropping a few bucks to replace your battery now is far better than having it unexpectedly quit when you’re far from home.
Changing Your Oil
Much like passenger vehicles, motorcycles use engine oil to lubricate the moving parts of their engines and keep them cool. And as with passenger vehicles, this oil gets dirty and needs to be changed periodically. In fact, it’s even more important in motorcycles because most modern motorcycles have a “wet clutch” that’s lubricated with oil.
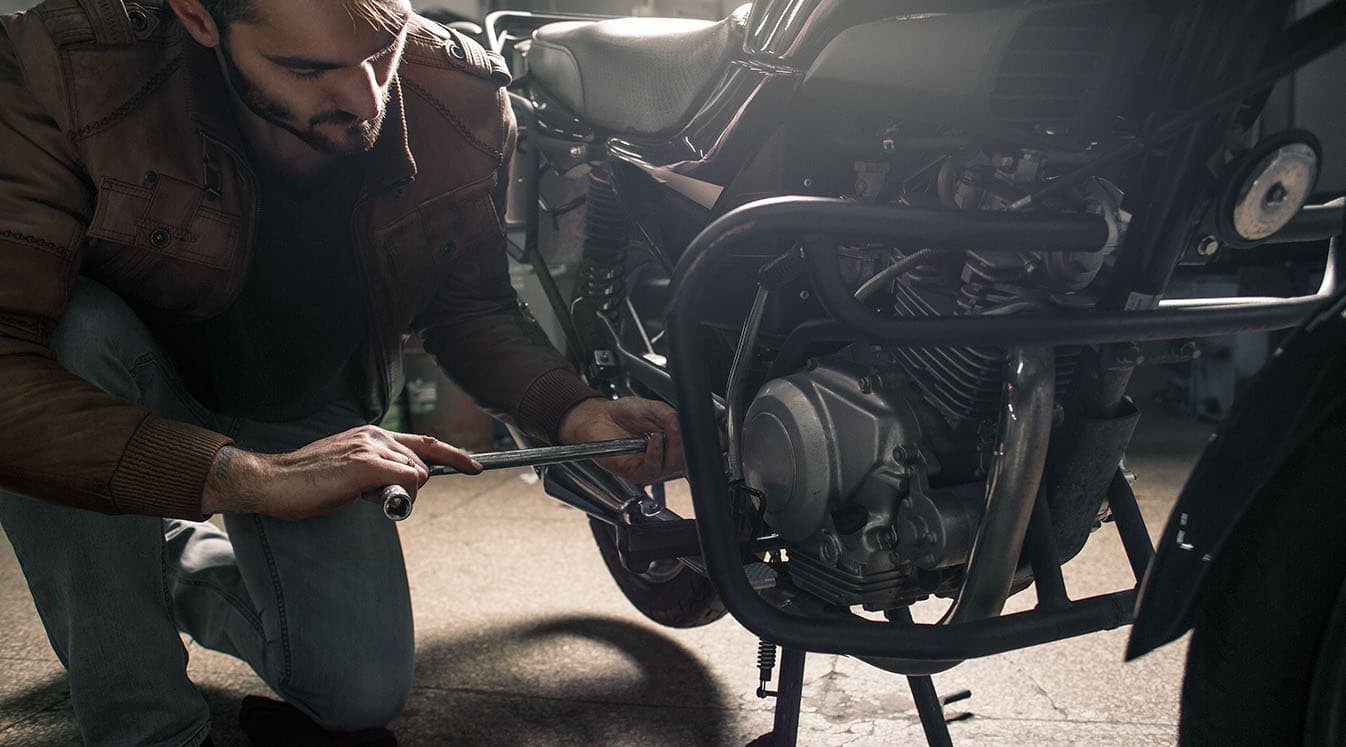
Some motorcyclists recommend changing your oil once a year or every 3,000 to 5,000 miles, although you may need to change more often if you ride your bike especially hard. Fortunately, the process of changing a motorcycle’s oil isn’t actually as difficult as you might fear, and it’s easier than changing the oil on most cars because there’s usually a lot less other stuff in the way.
Changing motorcycle oil is a fairly simple process that starts with removing the drain plug and draining out the old oil into a pan. You’ll then need to remove and change the oil filter, reinstall the drain plug and refill with fresh oil. Make sure to use the motorcycle engine oil grade specified by your bike’s manufacturer, and be careful not to overfill.
While you’re at it, be sure to check your bike’s other fluids as well, and top them off as needed. This includes:
- Coolant
- Transmission fluid (if your bike doesn’t have a wet clutch)
- Fork oil
- Brake fluid
Maintaining Your Tires
Motorcycle tires get put through a lot, so it’s crucial to check your tires regularly and make sure they’re in good condition. Before you head out for a ride, always check your tire pressure to make sure that it’s at the psi specified by the tire manufacturer and/or your motorcycle’s owner’s manual. Perform your tire pressure check while the bike’s tires are still cold; otherwise, the heat may be temporarily increasing the pressure.
You’ll also want to check your tires for signs of excessive wear. The “penny test” is a simple but effective way to do this. Just place a penny Lincoln’s head-down in several different grooves of the tire’s tread. If you can see the top of Abraham Lincoln’s head more often than not, your tires are wearing out and need to be replaced ASAP.
Newer motorcycle tires also have DOT-mandated wear indicators, which are small rubber strips that run horizontally across the tread and become visible when the tire’s tread is worn out. If you see these strips on your tire, it’s another indication that your tread is close to worn out and needs immediate replacement.
Keeping Your Chain Clean and Lubricated
Your motorcycle’s chain is the part of its anatomy that provides drive force to the rear wheel, so it’s extremely important to keep it in good condition. Thankfully, chain maintenance is one of the easier tasks on the list, so it’s a great one to start with if you’re new to motorcycle maintenance.
You’ll want to check the chain for wear and tear while you’re cleaning it. Your bike’s service manual will tell you how to determine when the chain and the sprockets that go with it need to be replaced. If you do need a new chain and sprockets, don’t try to replace them yourself unless you’re a confident and experienced DIY motorcycle mechanic.
To remove grime and gunk from your chain, you can use either a specialized chain cleaner or normal kerosene. Spray it down, wipe it off and then do another pass for good measure. You want to take off as much of the gross stuff as you can, and there’s probably a lot of it. Your chain is close to the road and the engine so it accumulates a lot of nasty stuff.
Once the chain is fully dry, hit it with some motorcycle chain lubricant. If you have a chain with O-rings, it won’t need as much lubricant because the fluid inside the rings helps to keep them lubricated. Give the chain wax a short time to dry, and your chain is ready to rock and roll again.
Cleaning Your Air Filter
The air filter is responsible for blocking out the nasty gunk that would otherwise fly into your engine’s air intake—dirt, debris, dust and more. So, it makes sense why an air filter gets dirty and needs to be either cleaned or changed regularly. A neglected air filter can hobble your motorcycle’s engine power and performance by preventing proper airflow into your engine, which is all kinds of bad news.
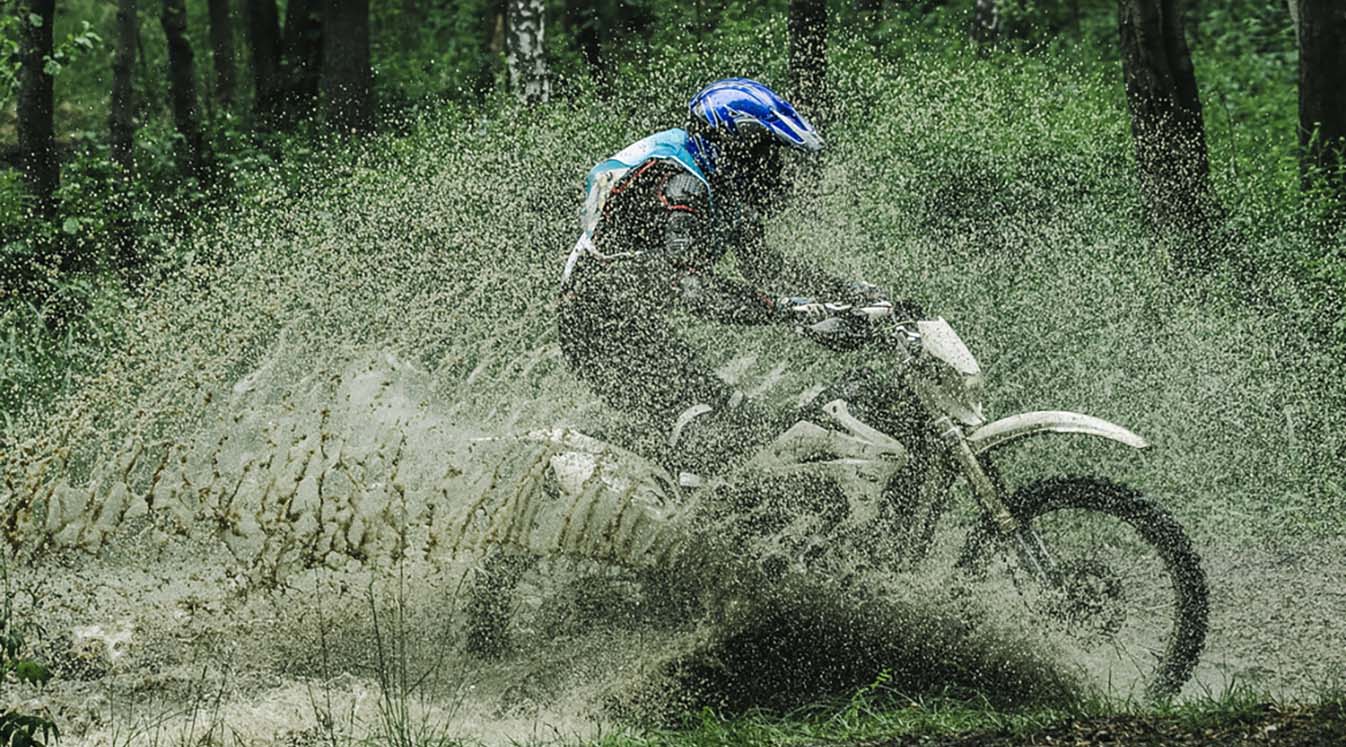
You’ll either clean your air filter or replace it, depending on which kind of filter you’re using. Paper filters are usually replaced, while foam and cotton filters can be cleaned with special solvents. The recommended interval varies by which type of bike you have and how much debris goes into the filter. A dirt bike will need frequent air filter changes, while a commuter bike or one that’s rarely ridden will require fewer.
How easy it is to change your bike’s air filter depends on where the filter is located. Some motorcycles have a clamp-on air filter that’s easily accessible on the right side of the bike, while on others, it’s located underneath the gas tank. If you have a clamp-on, it’s a simple matter of popping the filter out and cleaning or replacing it.
Changing an air filter under the gas tank isn’t usually a particularly difficult task, but it can be tricky if you’re new to motorcycle maintenance. The process will involve removing the gas tank and disconnecting wires inside your bike, so tread carefully and make sure you understand what you’re doing before you jump in.
Checking Your Brakes
For obvious reasons, your brakes are pretty important. So much so that if there’s anything on this list that riders are better off leaving to a pro, it’s brake work. New riders, in particular, should err on the side of caution when it comes to brakes. Still, any rider can check for the visual signs that indicate wear and tear on the brakes.
What should you be looking for? First, check the wear indicator grooves in your brake pads. Each brake pad should feature multiple deep grooves that disappear as the brake pad gets worn down. If you can no longer see the groove in your pads or it’s starting to become faint, get your brake pads replaced ASAP.
Riders should also keep an eye on how their brakes are performing and whether braking has a soft or squishy feel to it. If that sounds like your brakes, they may have air in the hydraulic lines and need to be bled. Bleeding brakes is another task that’s not recommended for newbies, but you can tackle it yourself if you’re a confident mechanic.
Maintaining Your Gear
Riding gear is an incredibly important part of motorcycle safety, and gear that isn’t properly maintained won’t protect you as well. These steps will help you keep your gear ready to go:
- Check all of your gear for rips, tears or cracks that could indicate structural damage. This is especially crucial for your helmet.
- Clean your motorcycle helmet, including the inner pads, using warm soapy water and a gentle scrub with a sponge. (Check out our guide to cleaning your helmet for the easiest and safest way to do it.)
- If you have a jacket, boots or other clothing made of leather, clean your gear using a leather cleaner and a bristle brush. Apply some leather conditioner afterward to protect it.
- Test your motorcycle Bluetooth headset to ensure that it’s charged, working well and is able to connect to important Bluetooth devices such as your phone. Make sure that your motorcycle helmet speakers and motorcycle intercom microphone are securely attached inside your helmet and positioned comfortably.
Proper motorcycle maintenance is the only way to keep your bike reliable and safe to ride. If you need some help, don’t be afraid to go see a trusted mechanic. But in the long run, it’s also highly rewarding (not to mention more cost-effective) to learn the art of DIY. For more info that will help you keep your bike riding safe and looking awesome, see our tips on how to store a motorcycle for winter and our complete guide to how to wash a motorcycle.