Getting to the top of the mountain often comes down to simple math. The geometry of the bike can work for or against you based on your riding position and body size. A slight change in angle or size can make all the difference when you’re pedaling up or downhill. It’s all about working smarter, not harder. That’s why manufacturers started playing around with the geometry of mountain bikes. The mechanics were changed to improve handling and stability on unpaved roads. This system will help you choose the right size of mountain bike for your body. Understanding mountain bike geometry will also teach you how to position yourself on the bike based on the terrain.
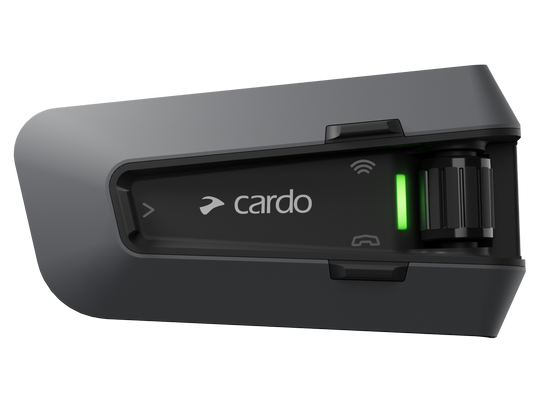
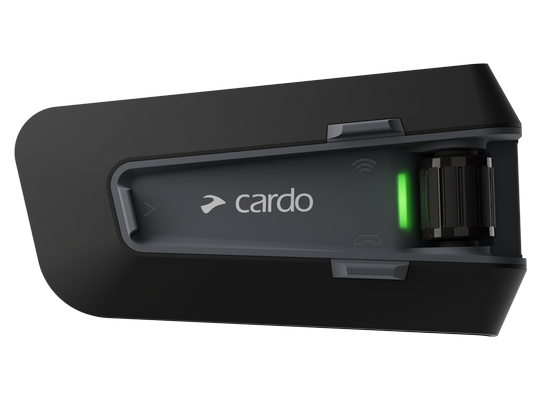
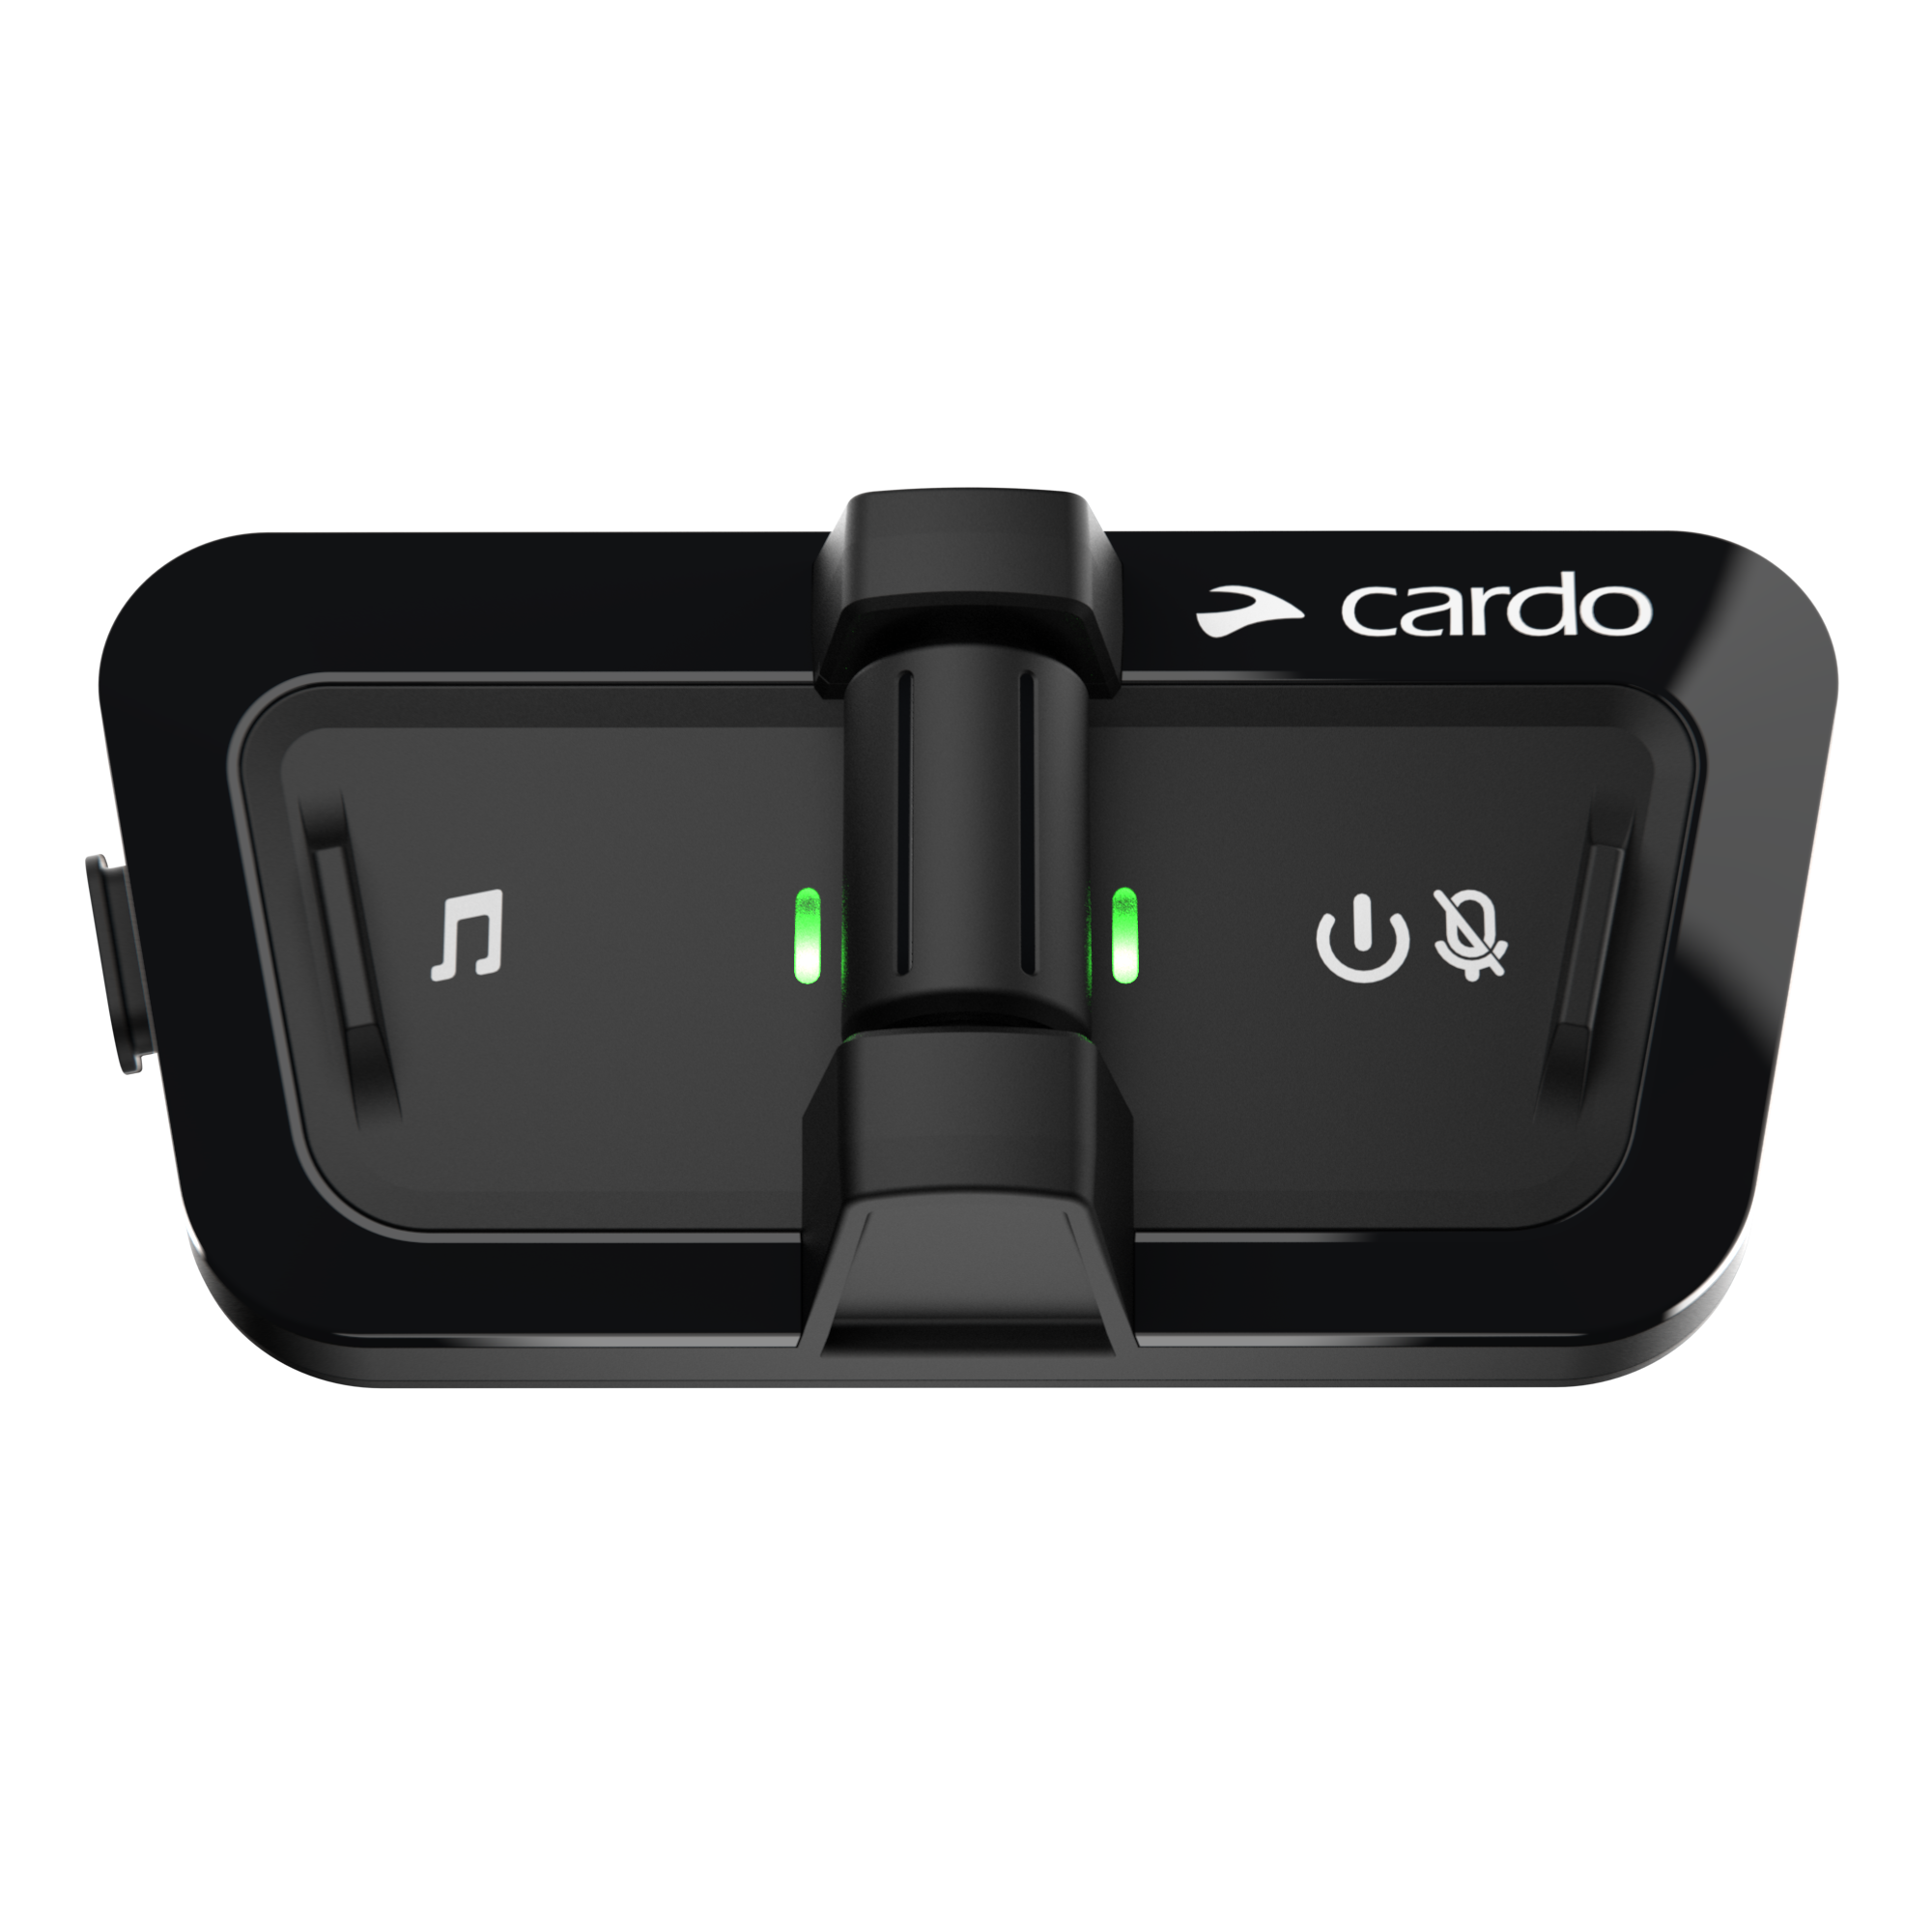
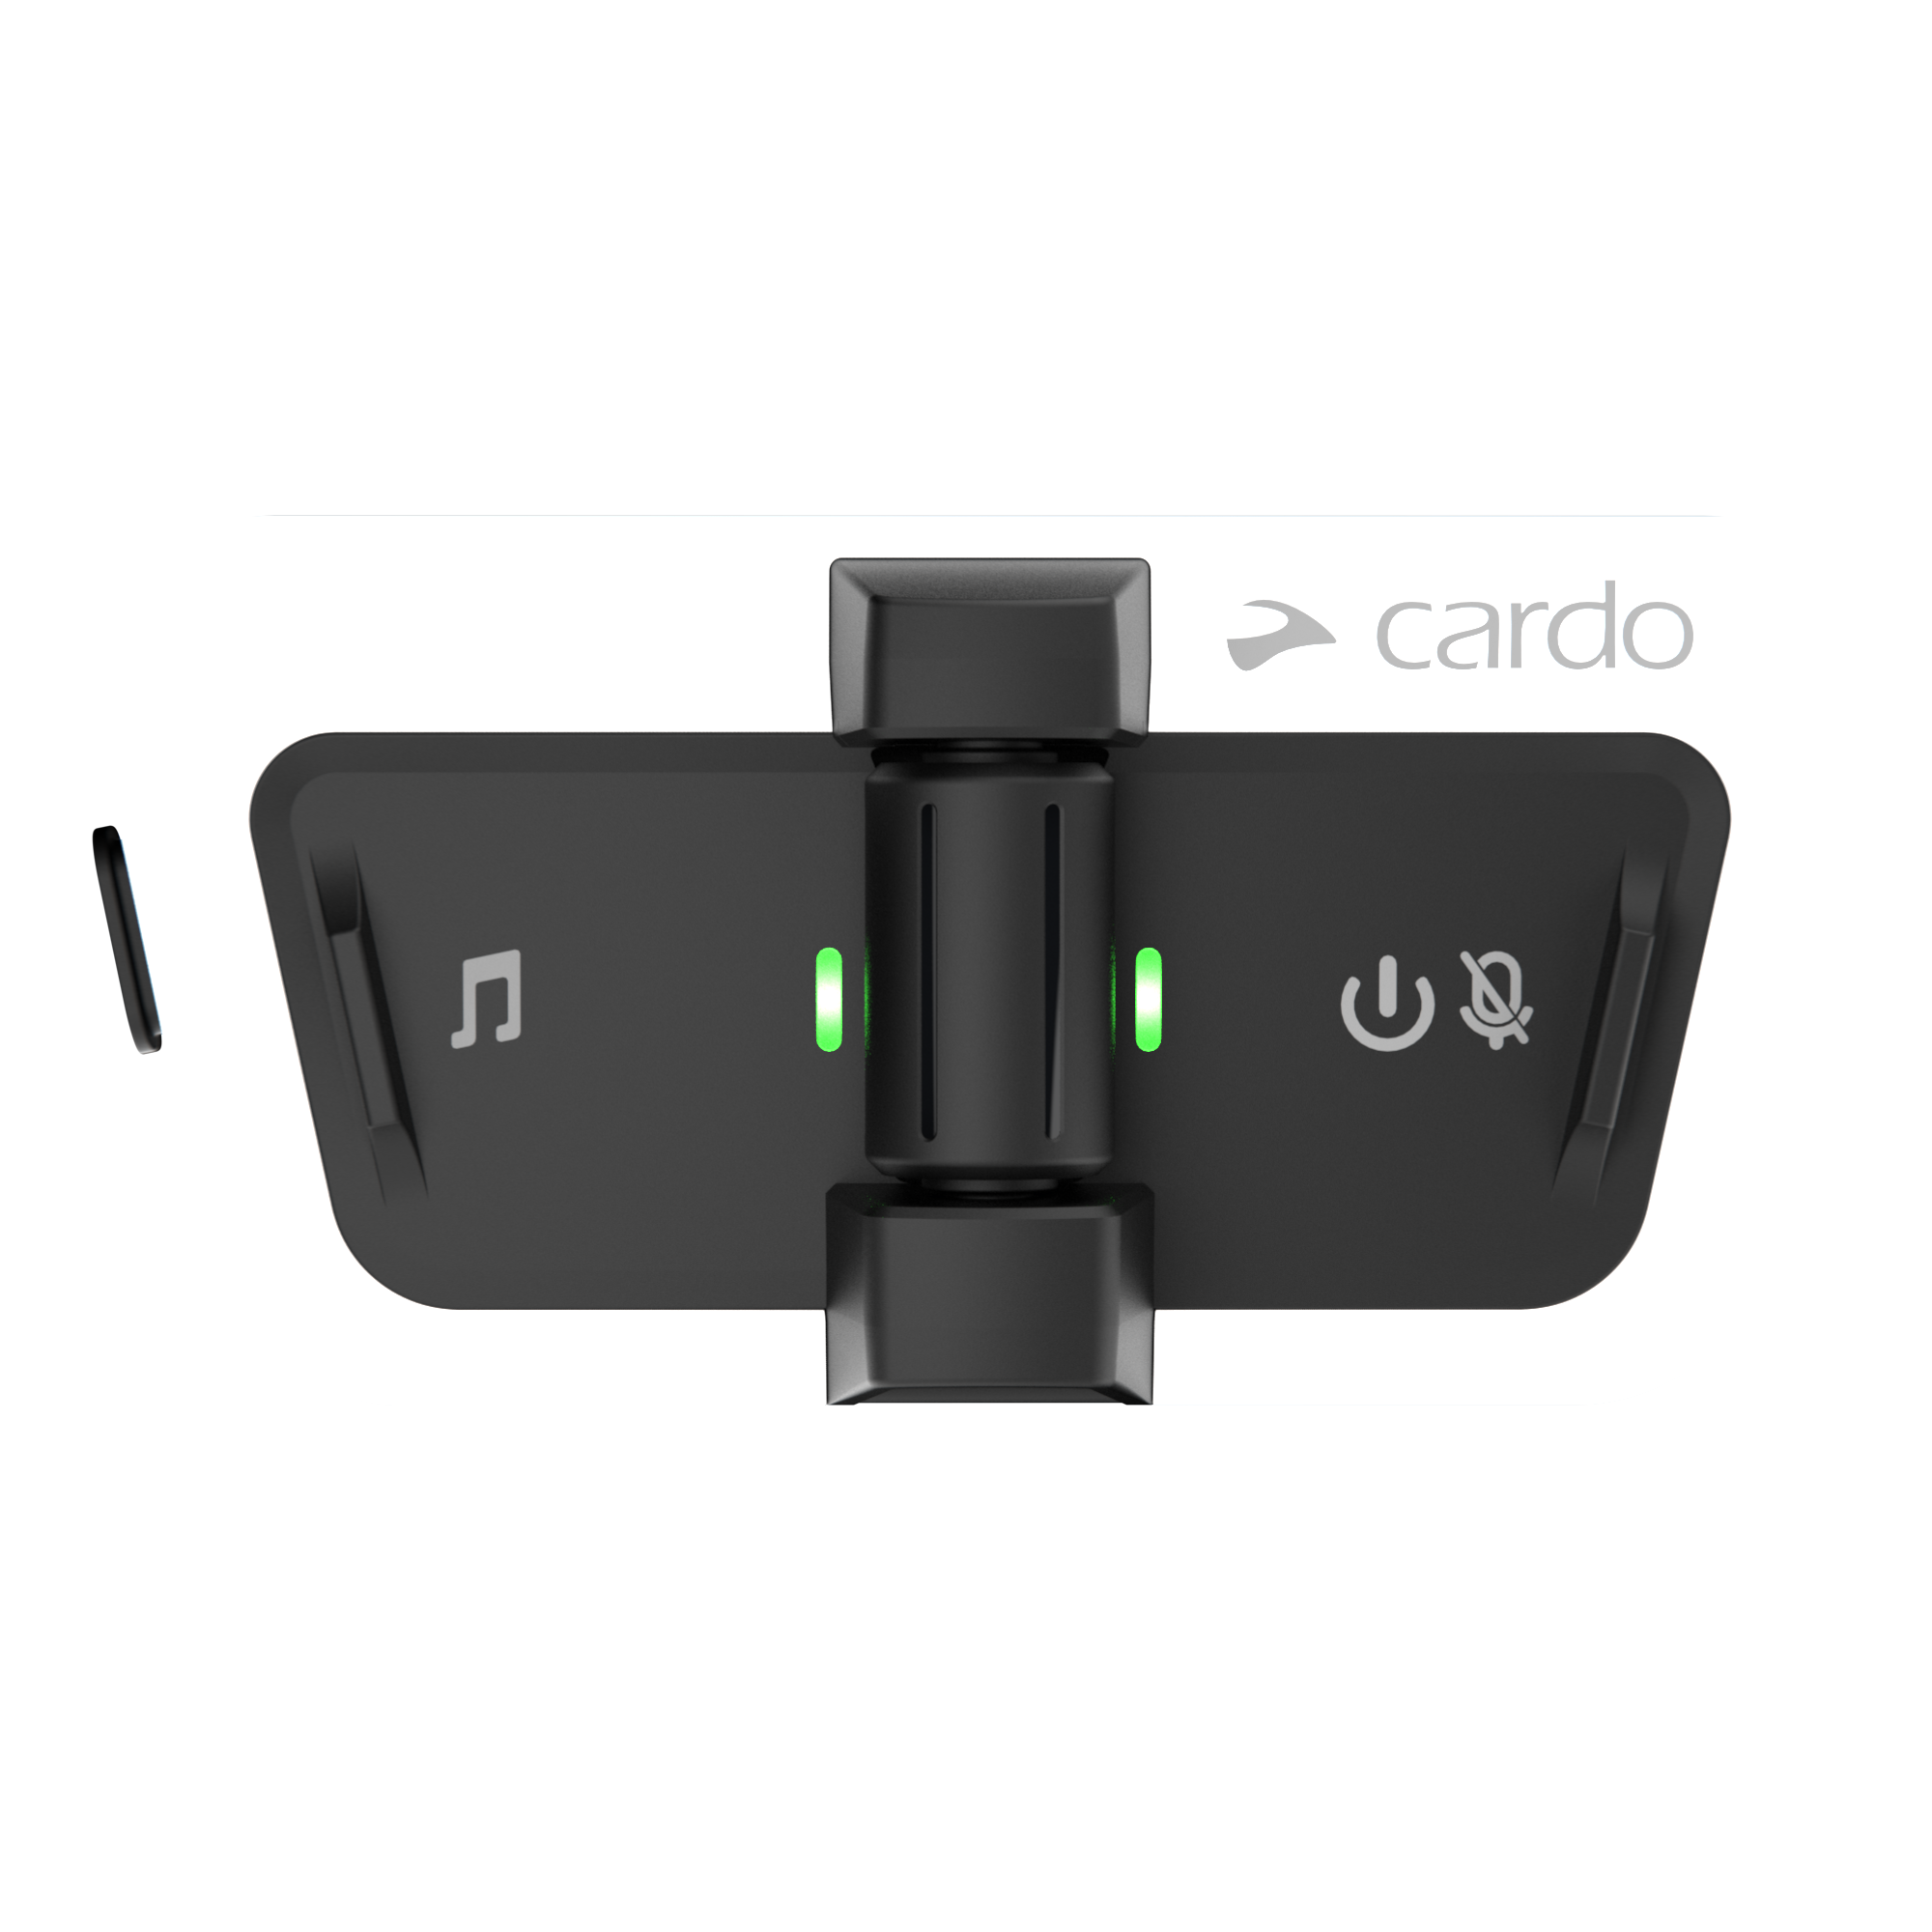
Regardless of what kind of bike you choose, be sure to stock up on essential biking gear to stay safe on the trail, including a helmet and pads in case you fall. The wrong metrics can make it harder to ride. Use a bike helmet with Bluetooth to compare positions with your fellow riders until you find the right angle without taking your hands off the handlebars. It automatically connects for a safer ride.
Use a Bike Helmet with Bluetooth to Talk Hands-Free
Read on to learn about the geometry of mountain bikes and how they can affect the way you ride.
Mountain Bike Geometric Factors
Seat Angle
The seat angle refers to the angle of the seat compared to the ground, which will affect your position over the bottom bracket. Modern mountain bikes tend to have steeper seat angles (usually in the mid-70s) to help with climbing. Keep it in the low 70s to mid-70s depending on the angle of the incline. The steeper the climb, the steeper the angle.
Bottom Bracket Height
This factor measures the distance from the center of the bottom bracket to the ground, which affects your center of gravity. It shouldn’t go any lower than 300 mm or your pedals will start hitting debris on the trail. You can increase the BB height when climbing to give yourself more leverage. Lower the BB to make the bike more stable in uneven territory.

Source: Yuri Hoyda/Shutterstock.com
Rear Center Length
The rear center length measures the distance between the center of the rear wheel and the center of the bottom bracket, which affects how far forward you sit on the bike. A shorter rear center will help you lift the front wheel when doing tricks. Keep it in the 430 mm to 450 mm range when going over rough terrain to stay centered on the bike.
Front Center Length
This measurement refers to the distance from the center of the front axle to the center of the bottom bracket. Just like the rear center, this will affect your center of gravity. Shortening it will help you make tighter turns, but it will also make the bike less stable, and the front wheel may start to wander.
Wheelbase
This is the sum of the rear center and front center. A bike with a short rear center and long front center may be just as long as a bike with a long rear center and short front center but they will ride differently. Use this metric to determine the overall length of the bike. A longer wheelbase increases stability at higher speeds. There isn’t much of a benefit to having a shorter wheelbase unless you just don’t want to take up as much room on the trail.
Reach
Reach measures the horizontal distance from the top of the head tube center and the imaginary vertical line that runs through the BB, essentially splitting the bike in two. This is the most important metric in terms of getting a sense of how the bike will fit in and out of the saddle because it isn’t dependent on the wheelbase, but it will vary based on several factors. The higher the stem height, the further back the head tube will sit, which will give you less room.
Stay Safe on the Trail with Must-Have Mountain Biking Gear
Top Tube
The top tube measurement refers to the horizontal distance from the top of the head tube to the center of the seat post, which can be used in sizing. However, the seat angle and angle of the head tube will affect the length.
Down Tube
This factor measures the length of the down tube, an important metric for sizing but it will only work if you are comparing bikes with the same wheel size; otherwise, it can be misleading.
Head Tube Angle
This measurement refers to the angle between the head tube and the ground. Increasing the angle will make the head tube run more parallel to the ground, which can help with descending because it makes it harder to flip over and there’s more distance between you and the terrain. The ideal angle tends to be in the 64° to 66° range, but you can drop it down on steep declines.

Source: Pavel1964/Shutterstock.com
These metrics are designed to help you get the most out of your bike. Use them to find the right position and style for your body size.

