
Plan Ahead
Painting a motorcycle helmet isn’t the same as applying paint to a canvas. Helmets have odd shapes that can be difficult to work with. Even the best artists will likely have trouble bringing their visions to life on a curved surface. That’s why you should practice before you start permanently changing the appearance of your helmet.
Find an old soccer ball or basketball to use as a proxy for the helmet. You’ll need to use acrylic or spray paint on your helmet, so now’s the time to choose your colors. You can find all the materials you need at your local hardware store.

Come up with a cool design. Try sketching it out on paper to get a sense of what you’re going for. You can also use a digital program to model your design beforehand. Once you have an idea, start bringing it to life on the ball. Most people use paint tape to shield the parts they don’t want painted.
If you don’t succeed, try and try again. Let your first attempt dry and try again in a few hours. Practice makes perfect!
Clean Off the Helmet
Once you feel confident in your painting skills, it’s time to prep the helmet for painting. Use an all-purpose cleaner or grease to get rid of tough stains. Use gloves when handling the helmet to make sure you don’t leave fingerprints. The helmet should be perfectly clear with nary a scratch.
Remove Accessories
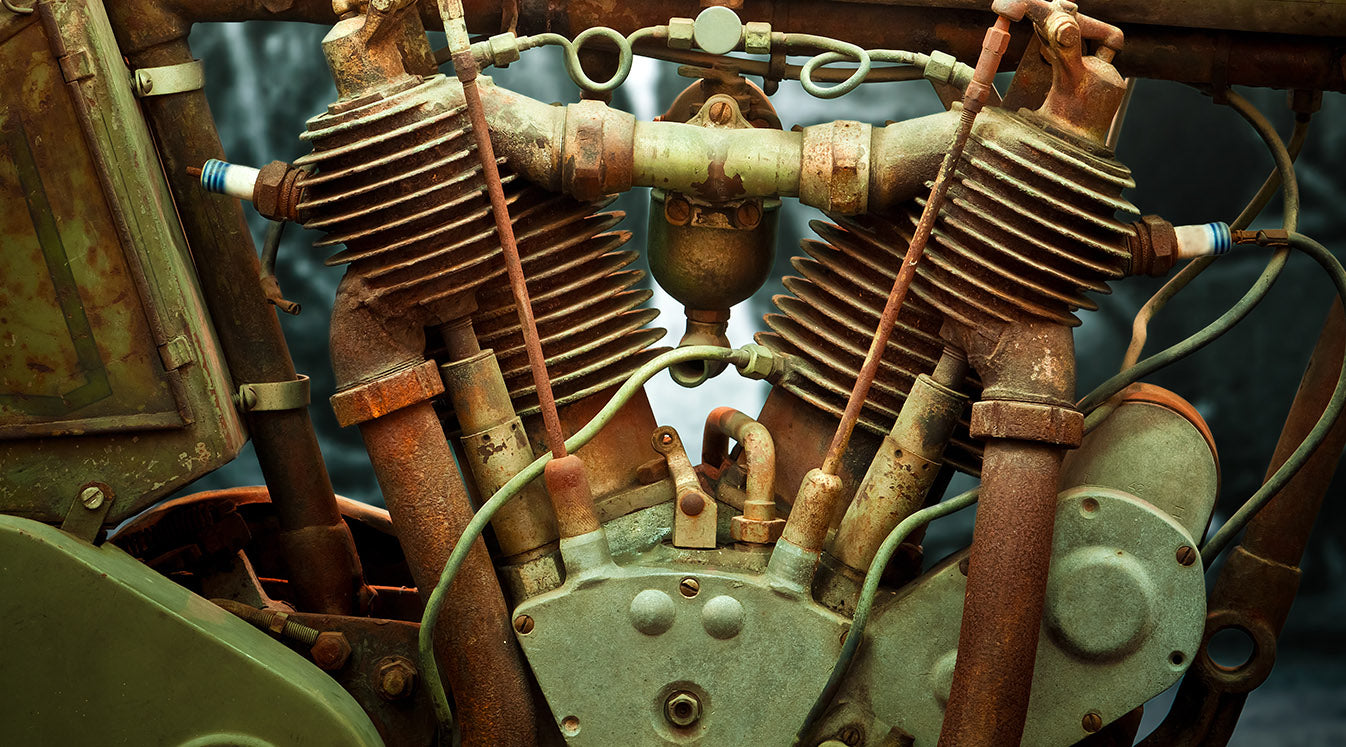
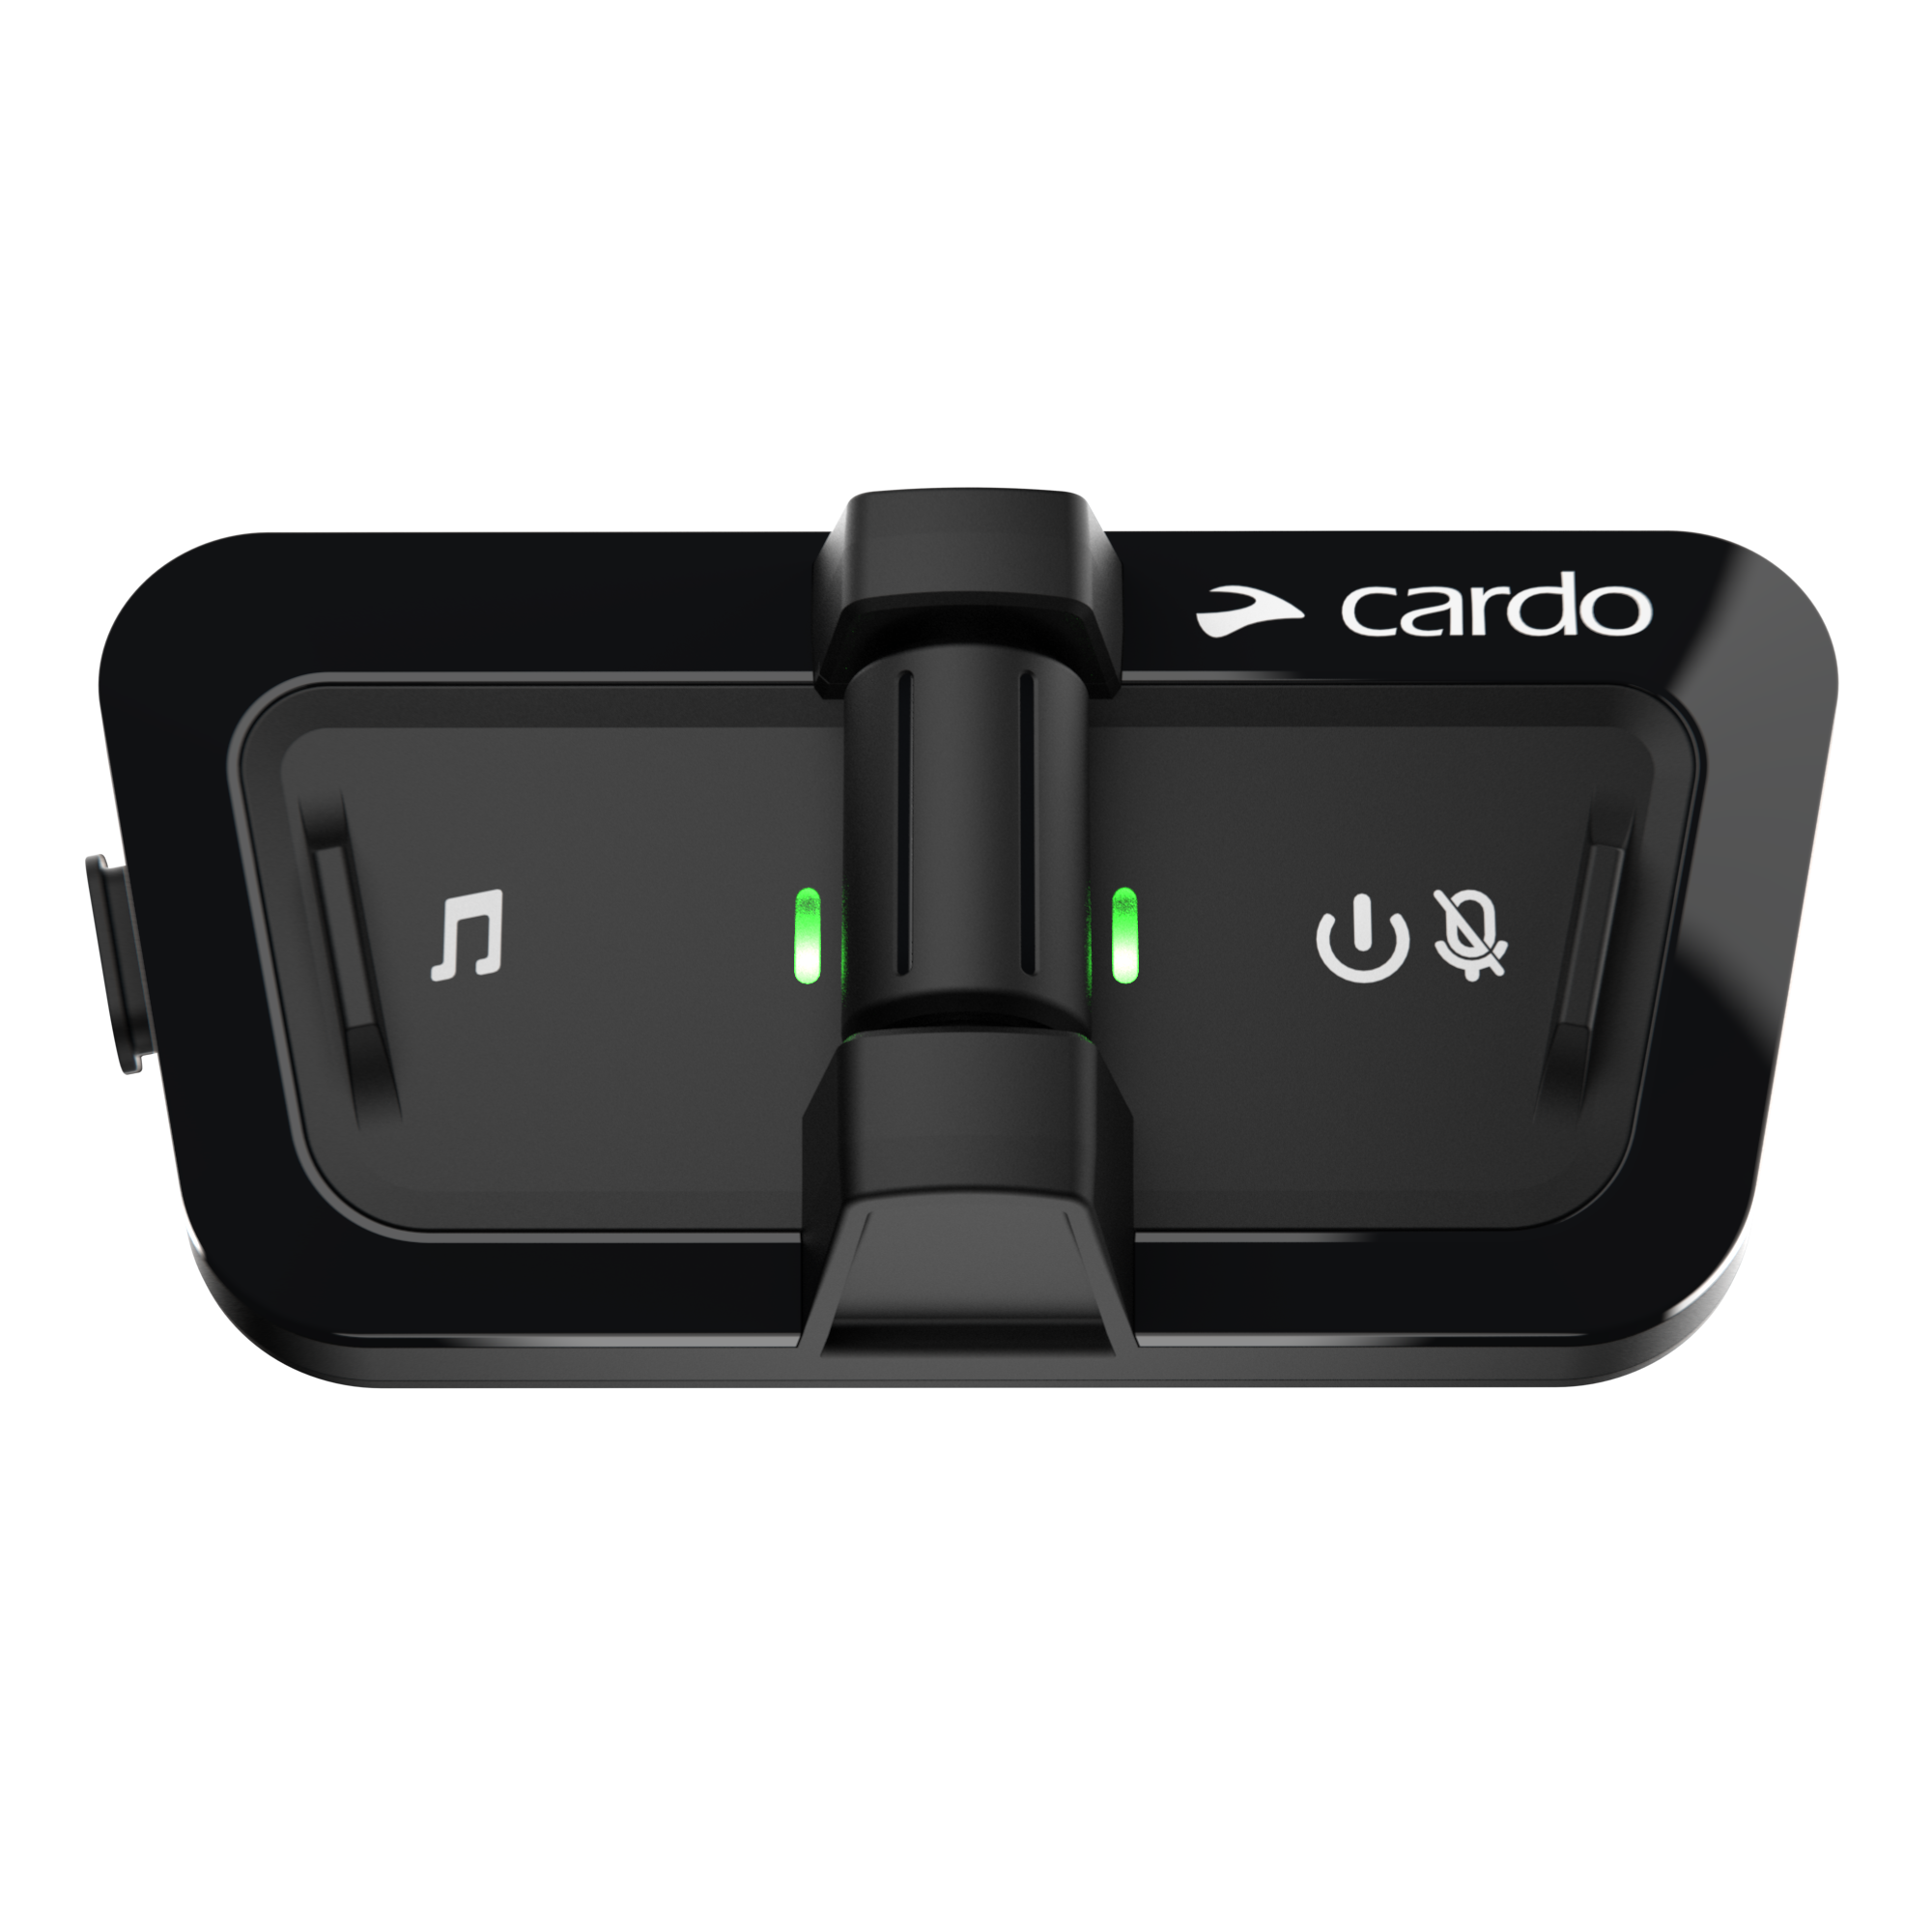
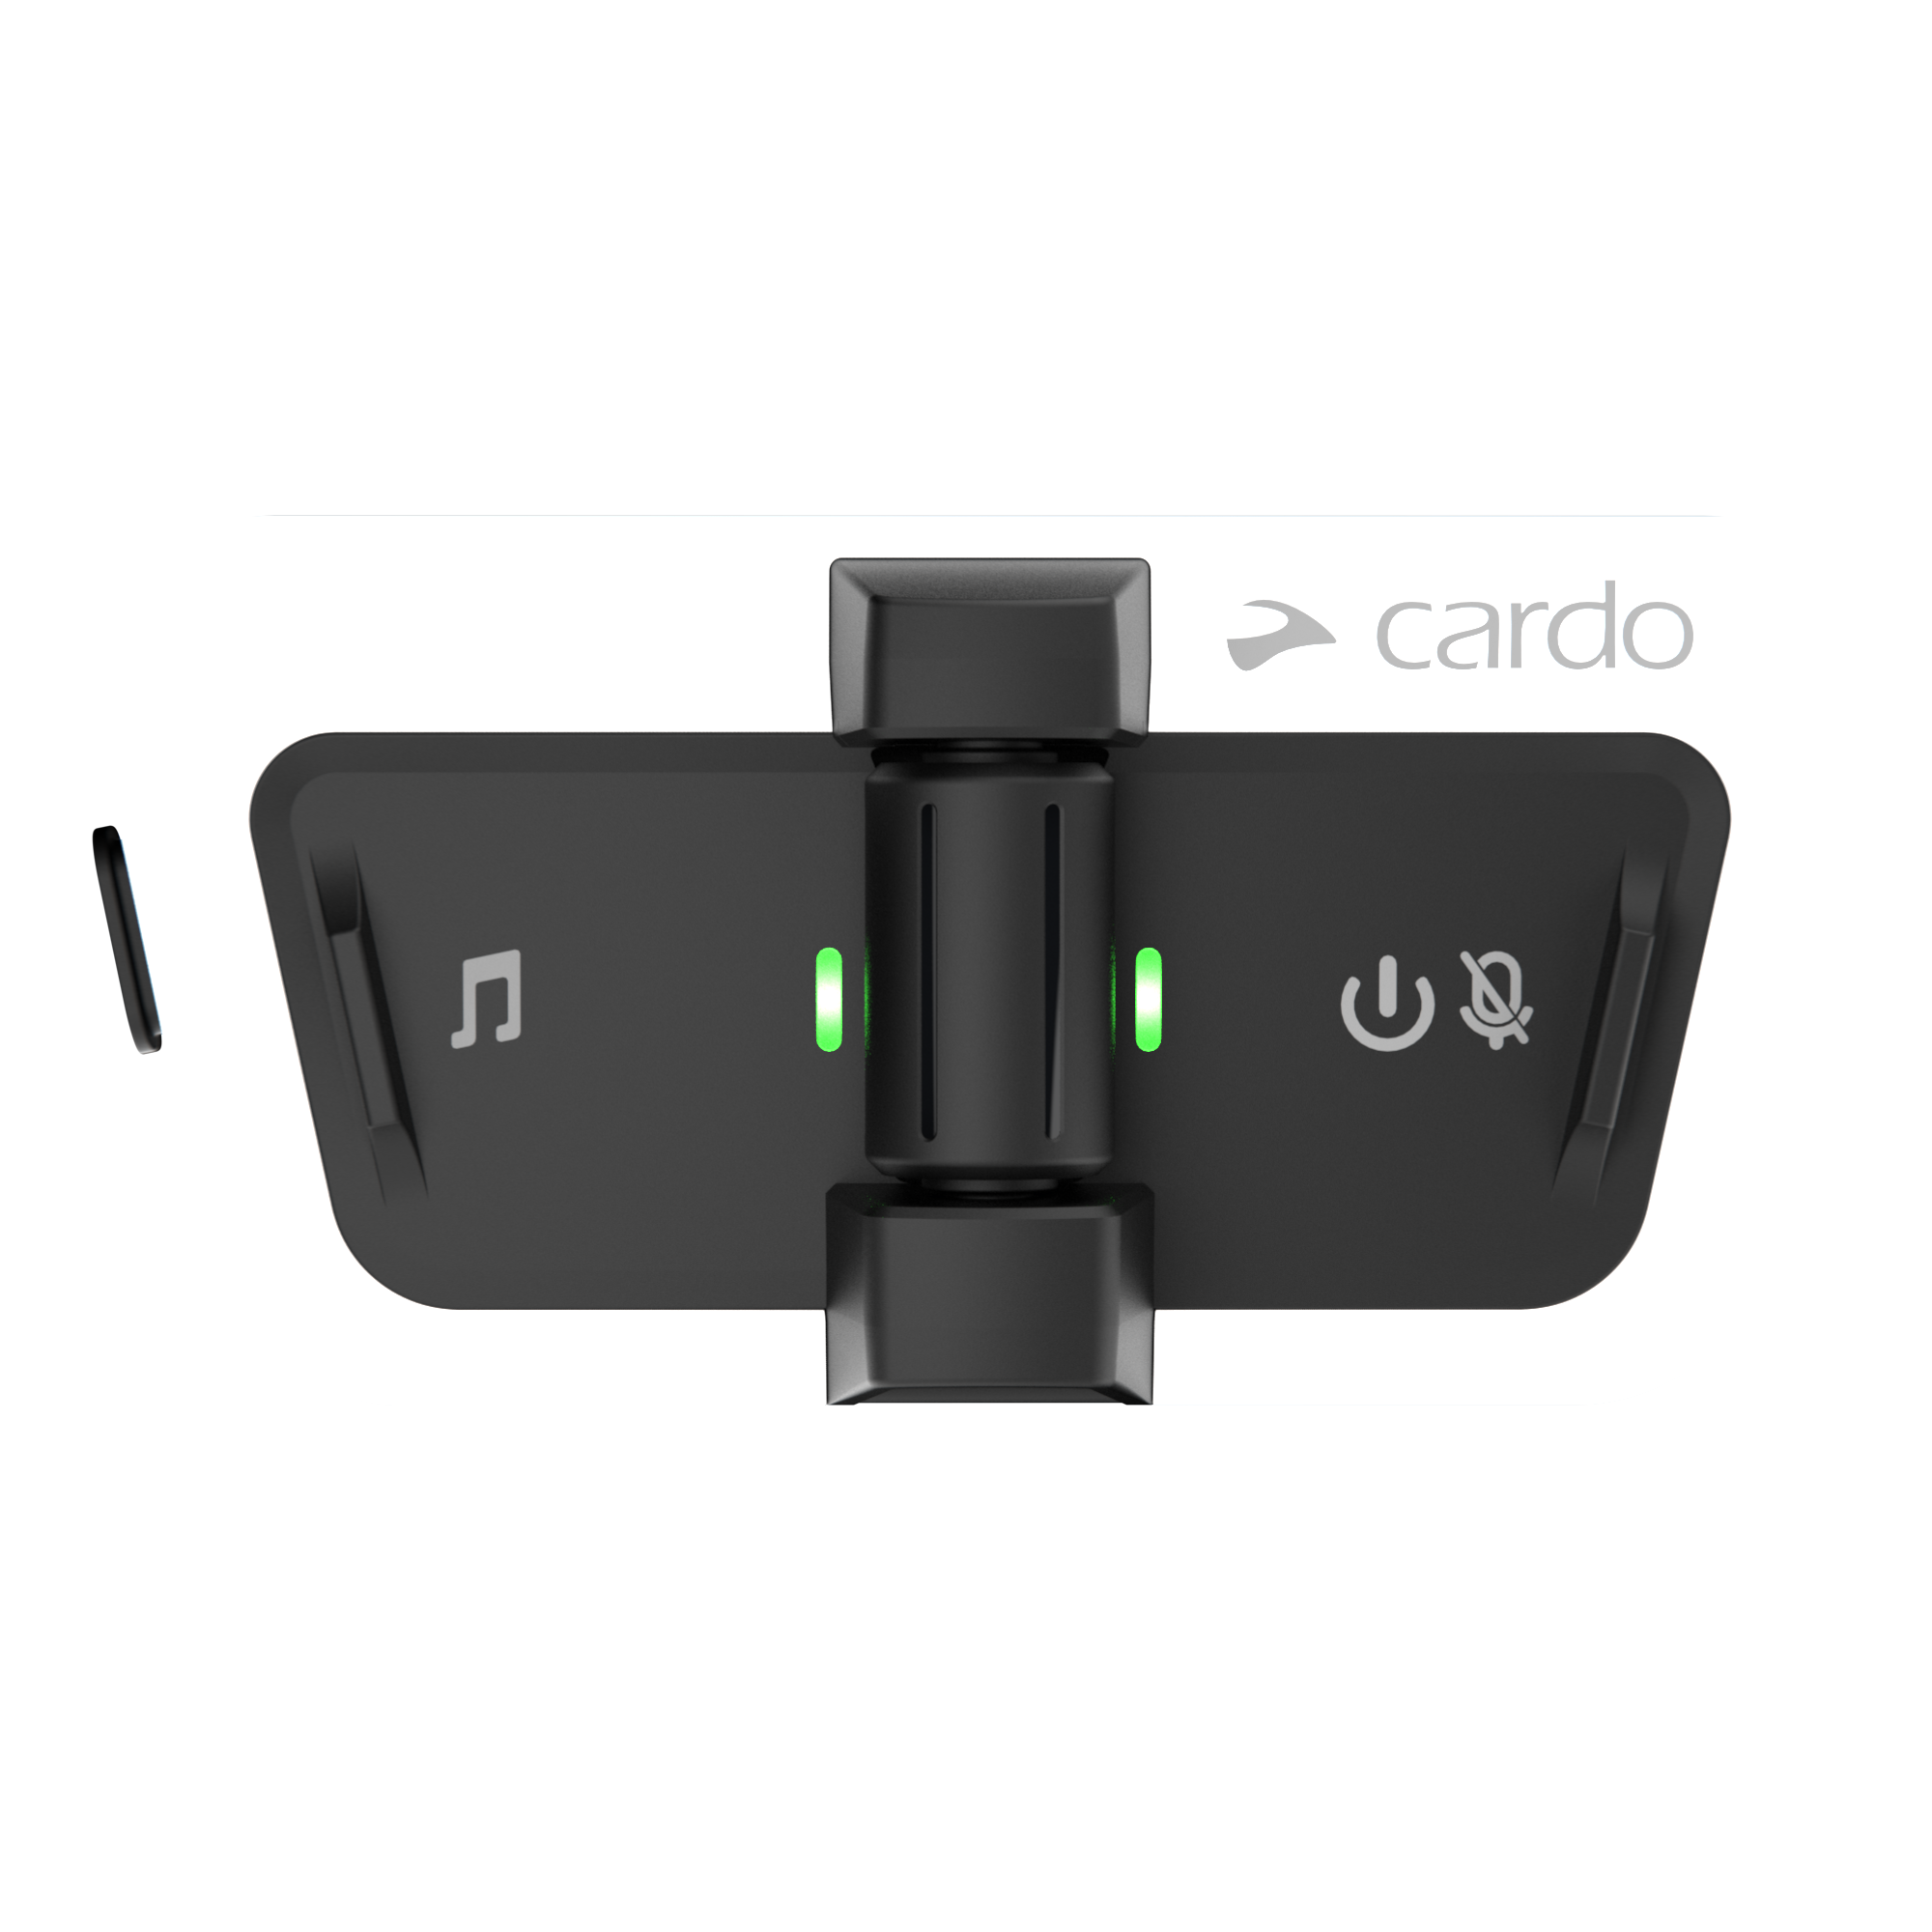
You don’t want to cover your helmet accessories in paint, so be sure to get rid of everything that’s not a part of the base helmet, including the visor, stickers, and anything that’s sitting on the surface. If you use motorcycle helmet speakers, take them out before starting the task at hand.
Sand Down the Surface
Now that the helmet is clear, you’ll need to sand down the surface of the helmet to get rid of any imperfections. Wet the sandpaper beforehand to make it easier for the paint to latch on. You might get tired after a few minutes, but the finished product will be worth it. If you apply paint to an uneven surface, your design won’t look flush or professional. You can always use a power sander if you run out of elbow grease.
Create Your Design
The time has finally arrived for you to execute your design. Hopefully all those practice hours in your garage have paid off. Carefully mark off the places where you don’t want the paint to appear. You can always start with a base layer of paint and work your way up from there. Be sure to let the paint dry when adding multiple layers.
Complex designs will take some time, especially if you’re doing everything by hand. Spray paint will help move the job along, but you might have less control over the paint. If you get in over your head, you can always simplify your design. Strong bold colors will help set you apart from other riders on the road.

Seal It Up
Once the paint has dried, you’ll need to seal it in with a clear coat of Urethane. This will give your helmet the glossy look many riders crave. It will also protect your design from the elements. It’s usually best to do as many as four layers of Urethane. The more layers you add, the safe your design will be.
After the sealant dries, you can add your accessories back into the helmet.
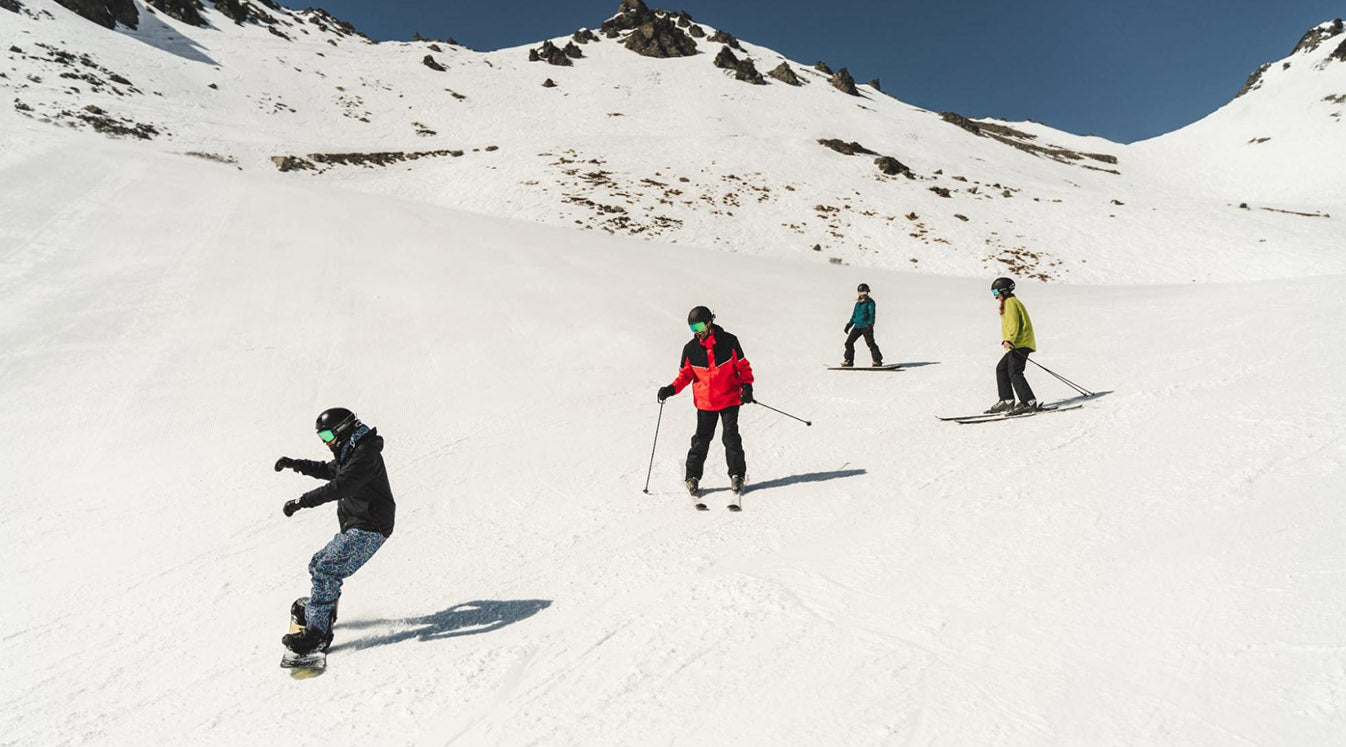
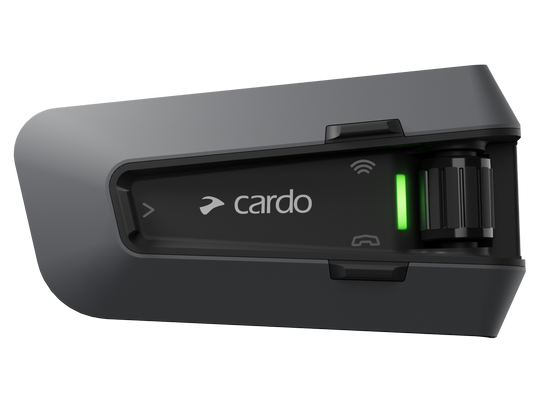
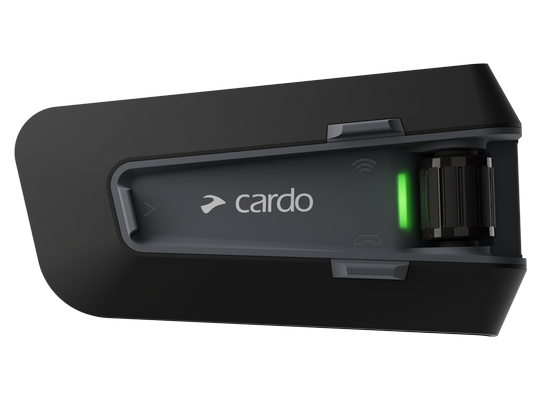
Regardless of how you plan on painting your helmet, use Bluetooth motorcycle helmet speakers to stay safe on the road. You can dial a call, check for directions, or radio up to 15 other riders in real-time. You’re probably anxious to know what your fellow riders think about your new design! Get all the compliments with a motorcycle Bluetooth headset.